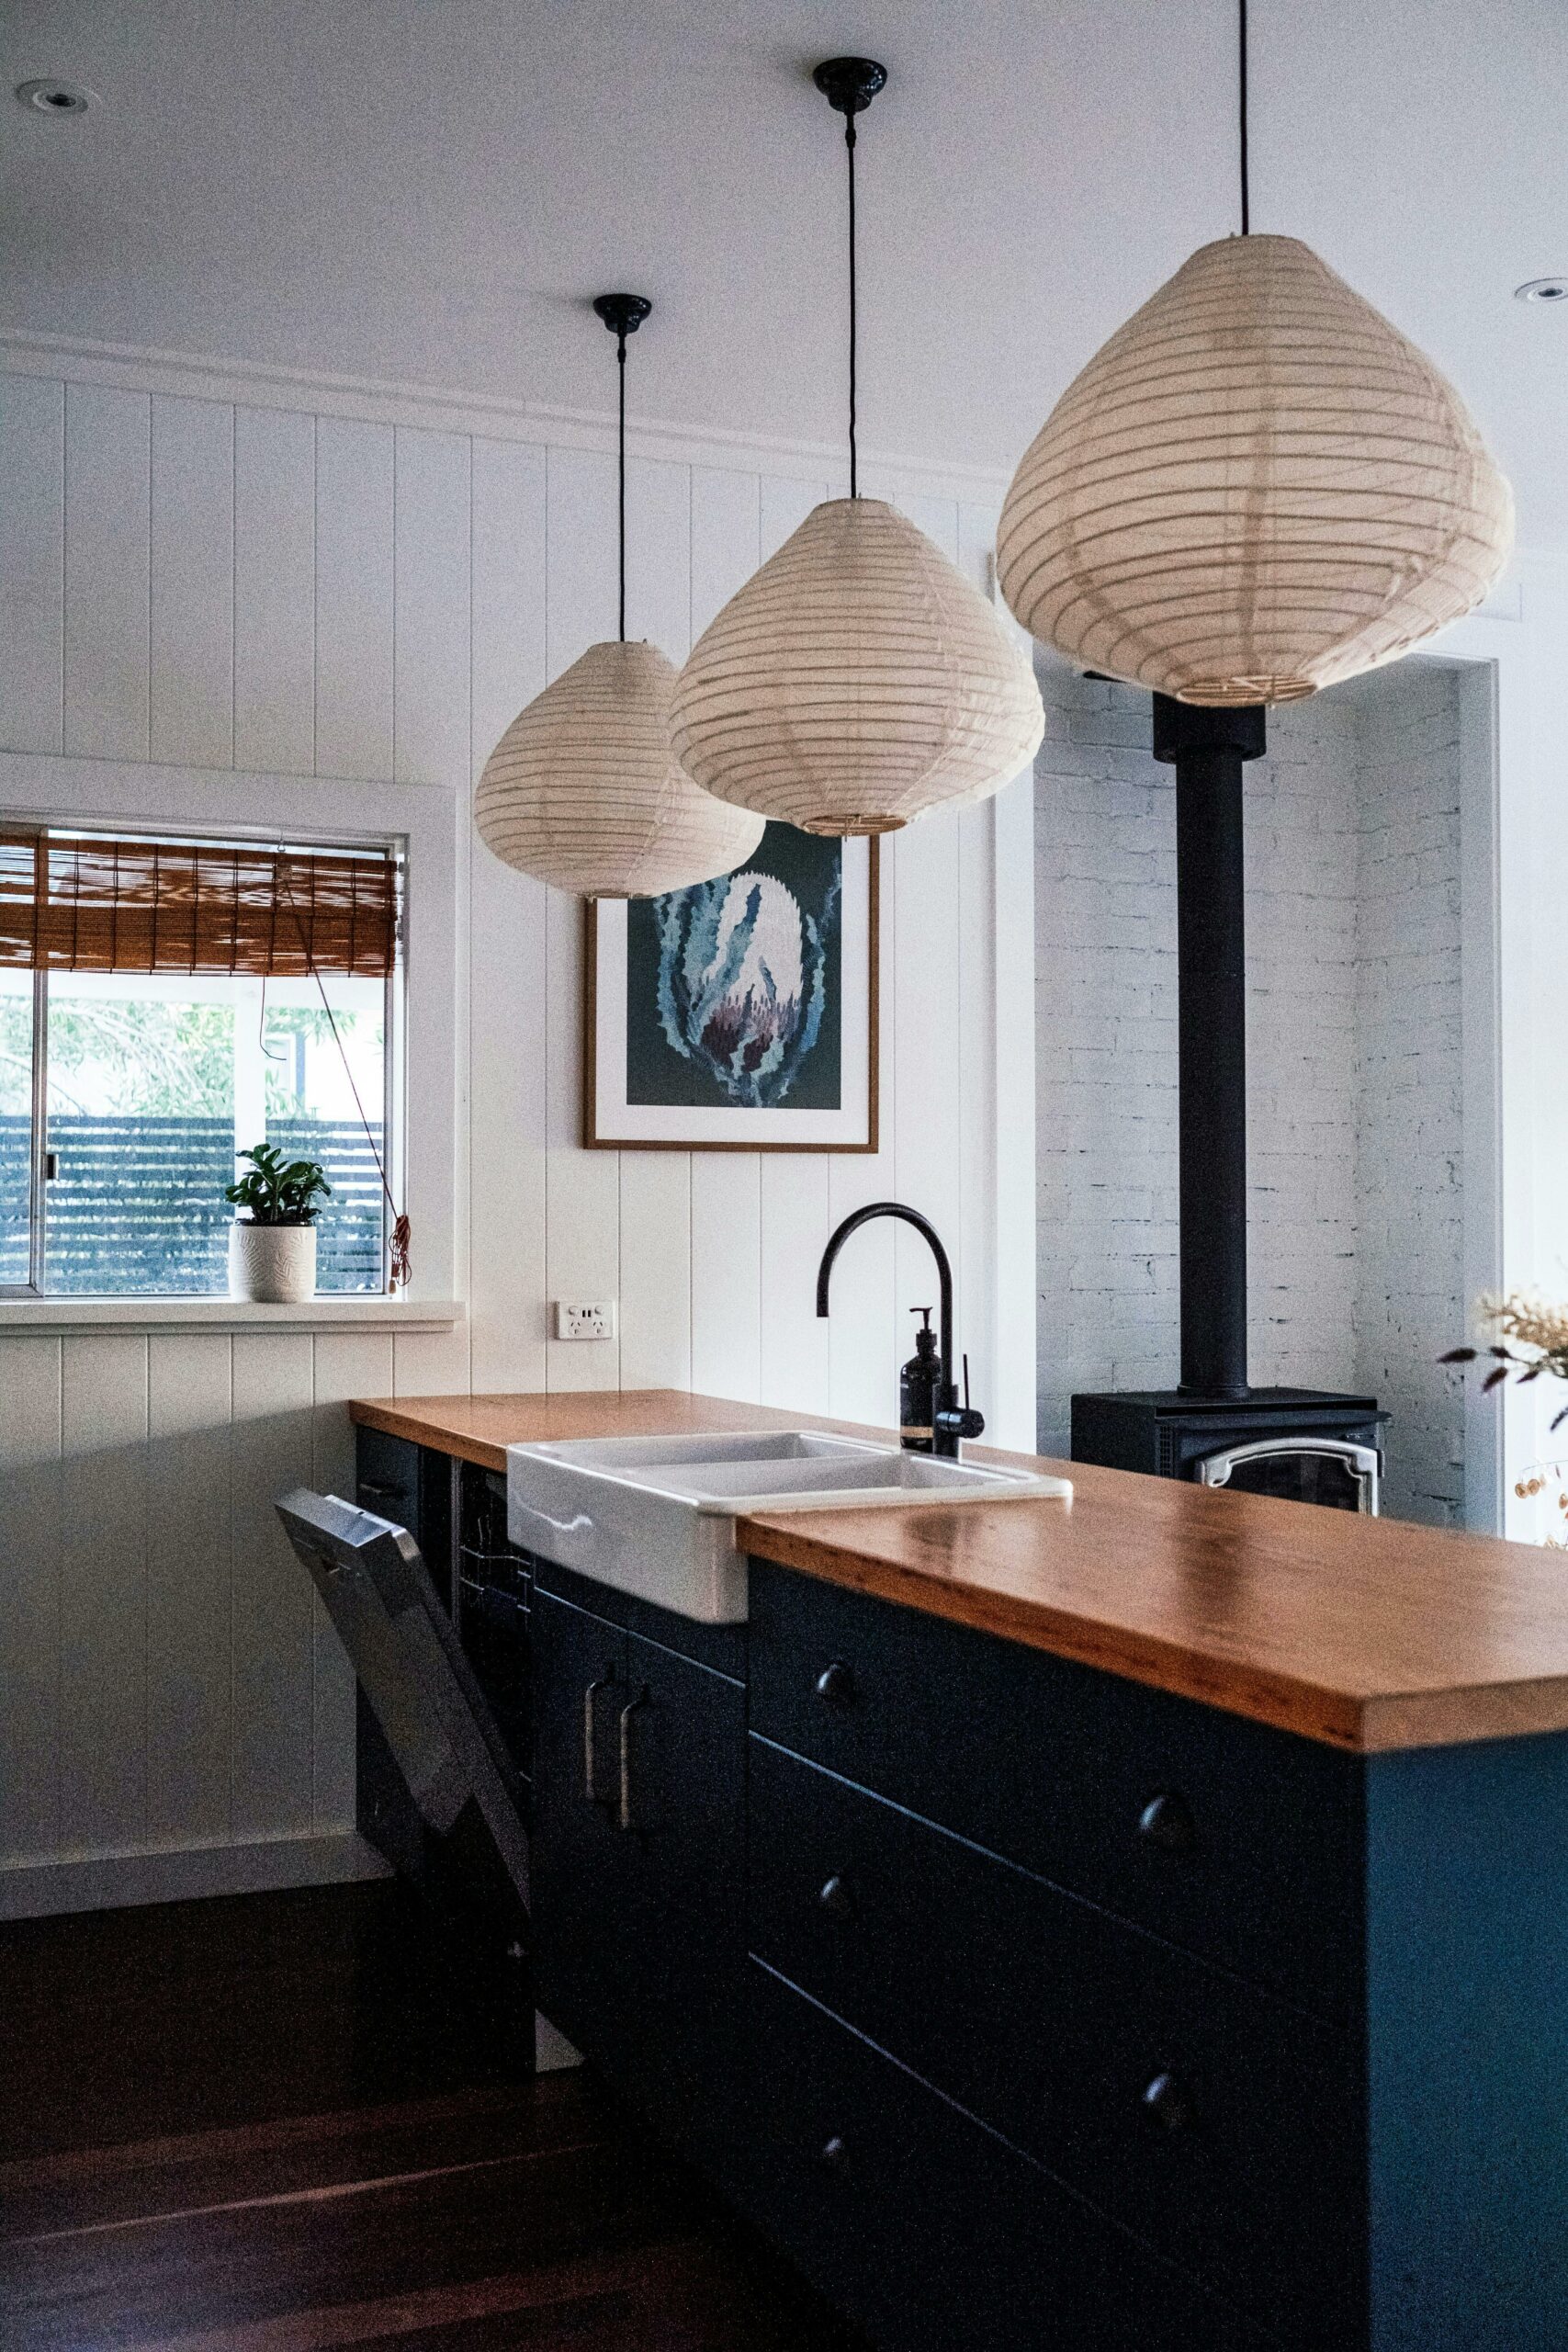
If you want to know how to wash kitchen cabinets, you’ve come to the right place!
Your kitchen cabinets are not just a functional part of your home; they also contribute greatly to the overall aesthetic appeal of your kitchen.
Clean cabinets can make your entire kitchen look brighter and more inviting.
Regularly washing your kitchen cabinets helps prevent the buildup of grease, grime, and food particles that can accumulate over time, maintaining their appearance and extending their lifespan.
To keep your kitchen cabinets looking their best, it’s recommended to clean them at least once every few months.
However, the frequency may vary depending on how often you cook in your kitchen and how much grease and steam accumulate on the cabinet surfaces.
Regular maintenance will make deep cleaning sessions easier and less time-consuming in the long run. So, roll up those sleeves and let’s get those cabinets sparkling!
Importance of Maintaining Clean Kitchen Cabinets
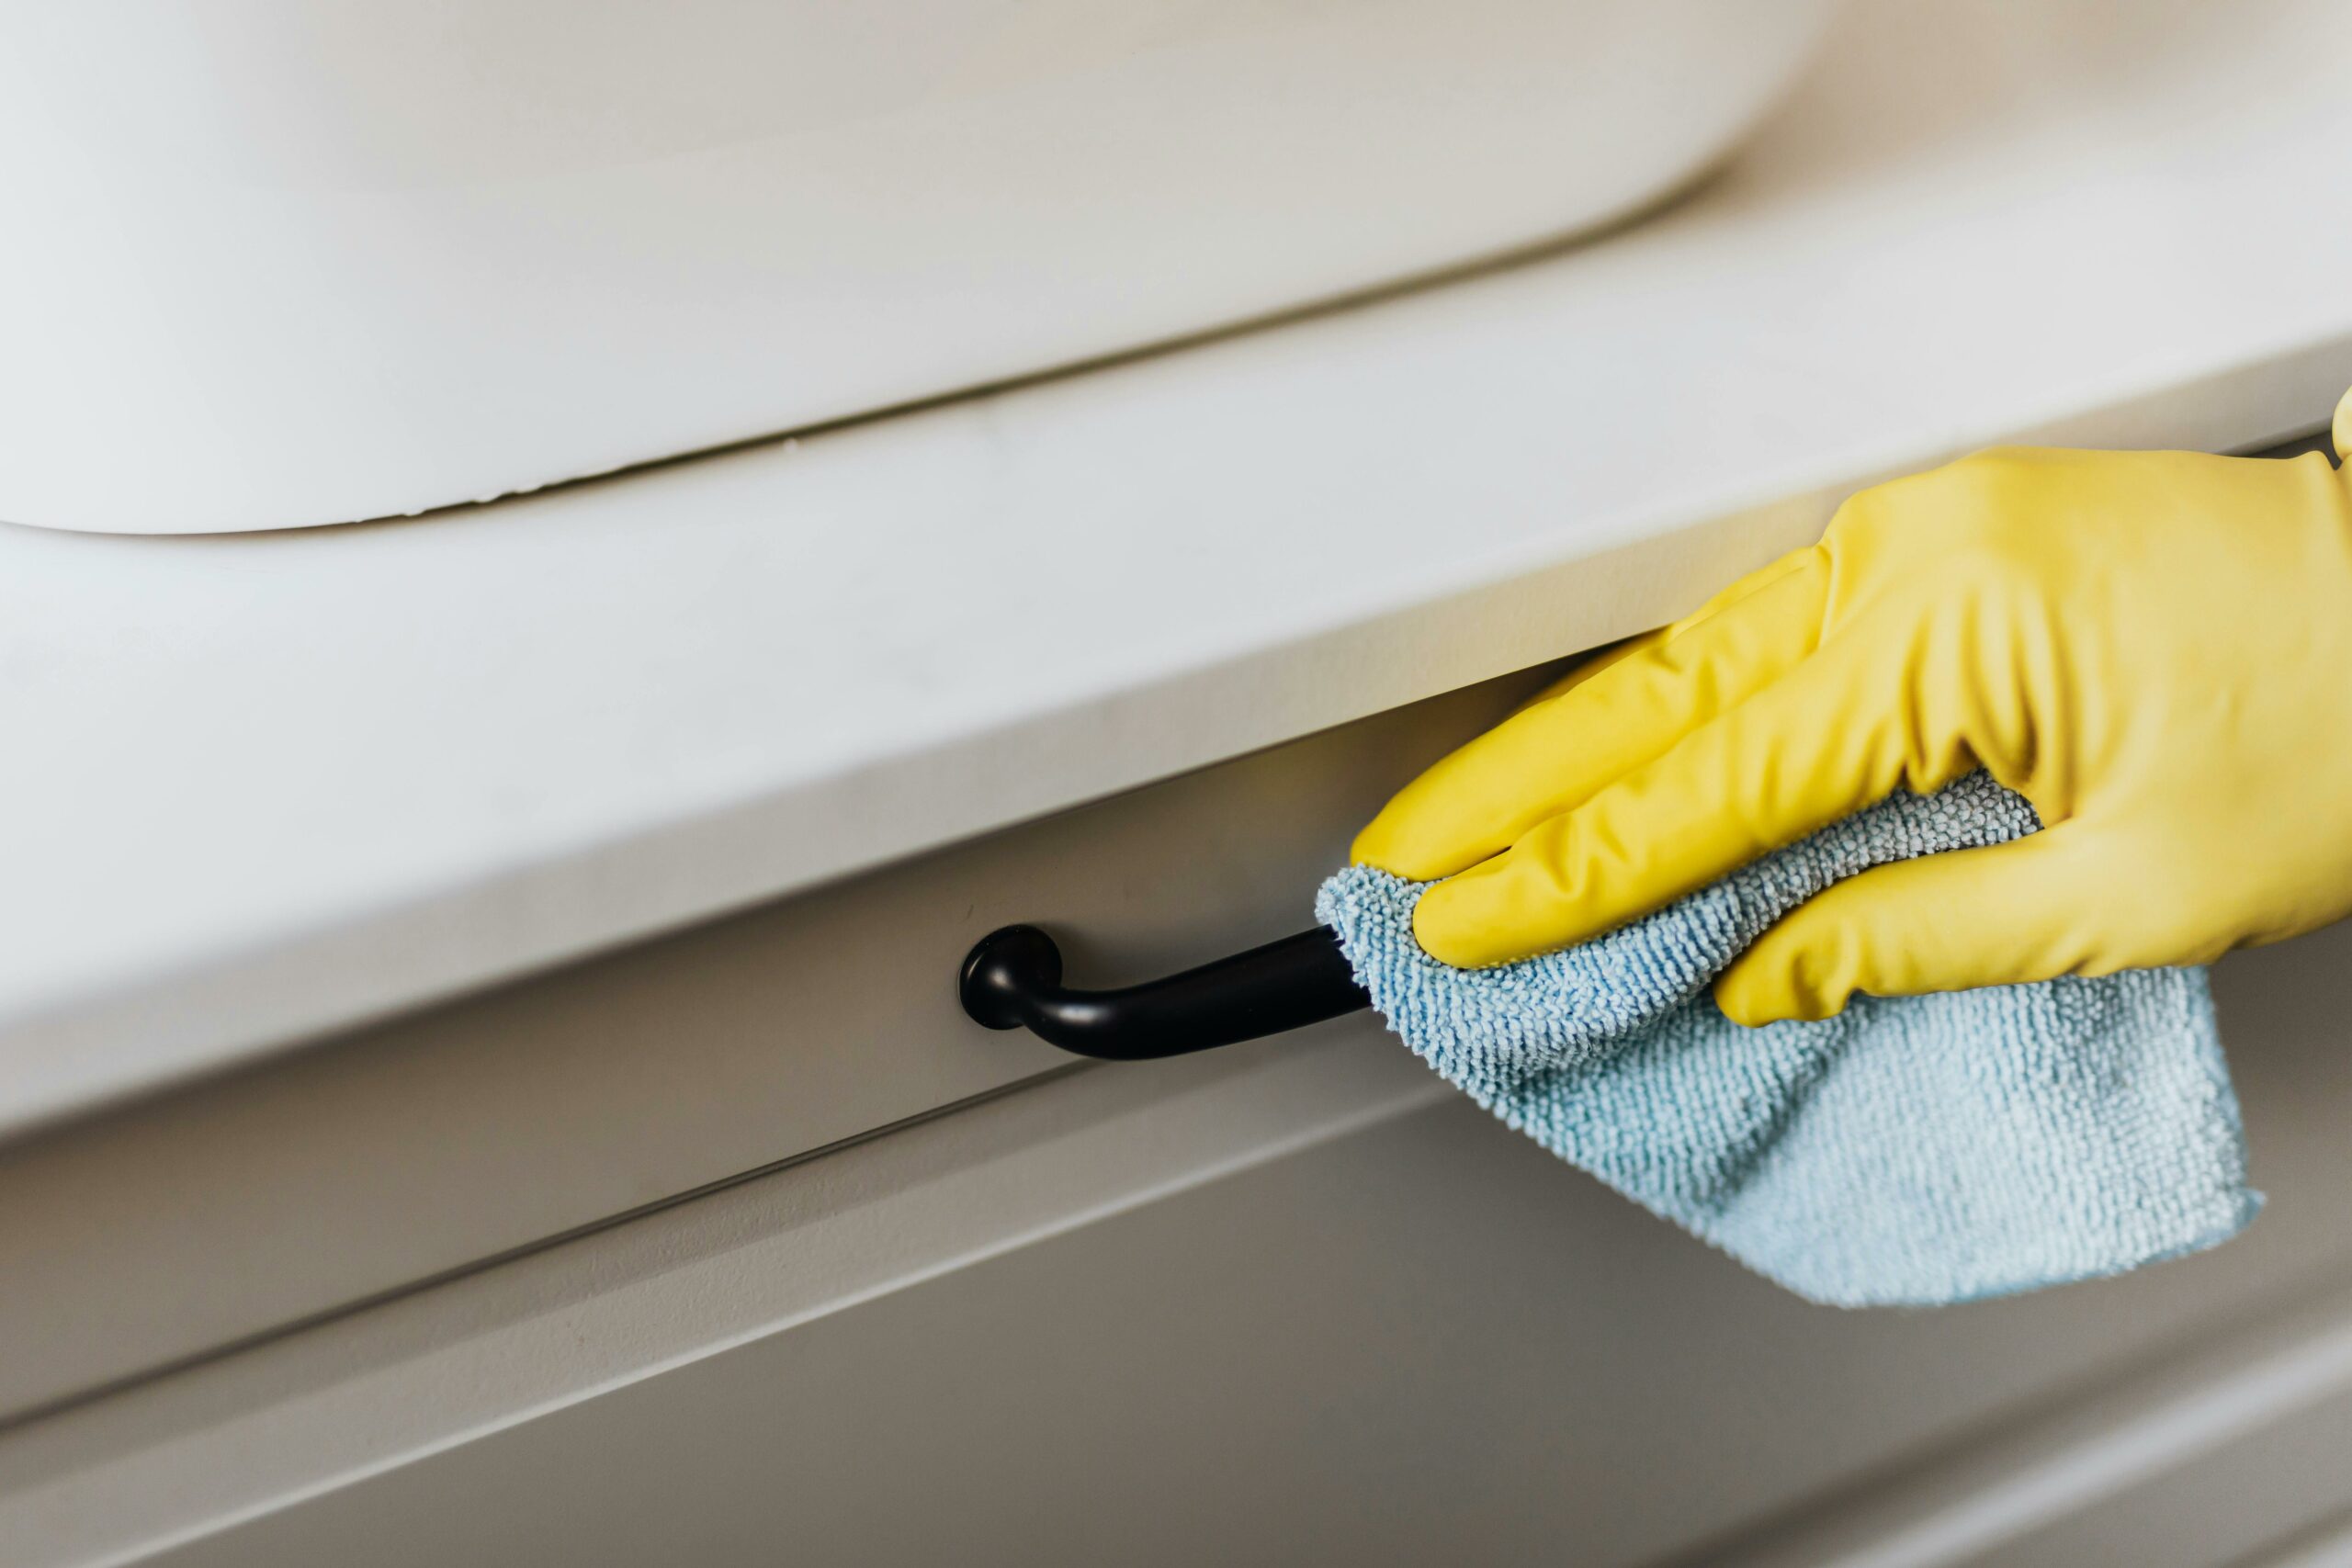
Your kitchen cabinets are not just storage units; they are an integral part of your kitchen’s aesthetic appeal.
Greasy fingerprints, food splatters, and dust can accumulate on cabinet surfaces, dulling their appearance and making your entire kitchen look unkempt.
Clean cabinets not only enhance the overall look of your kitchen but also contribute to a hygienic environment for food preparation.
Regular cleaning helps extend the life of your cabinets by preventing damage from built-up grime and grease.
Frequency of Cleaning Recommended
How often should you be cleaning your kitchen cabinets?
The frequency of cleaning depends on how heavily they are used and how much cooking you do in your kitchen.
As a general rule of thumb, it’s recommended to give your cabinets a thorough wipe down at least once a month.
However, high-traffic kitchens or those with heavy cooking activities may require more frequent cleaning – perhaps every two weeks or even weekly.
Regular maintenance will help prevent dirt and grease buildup, making the cleaning process easier each time.
Preparation
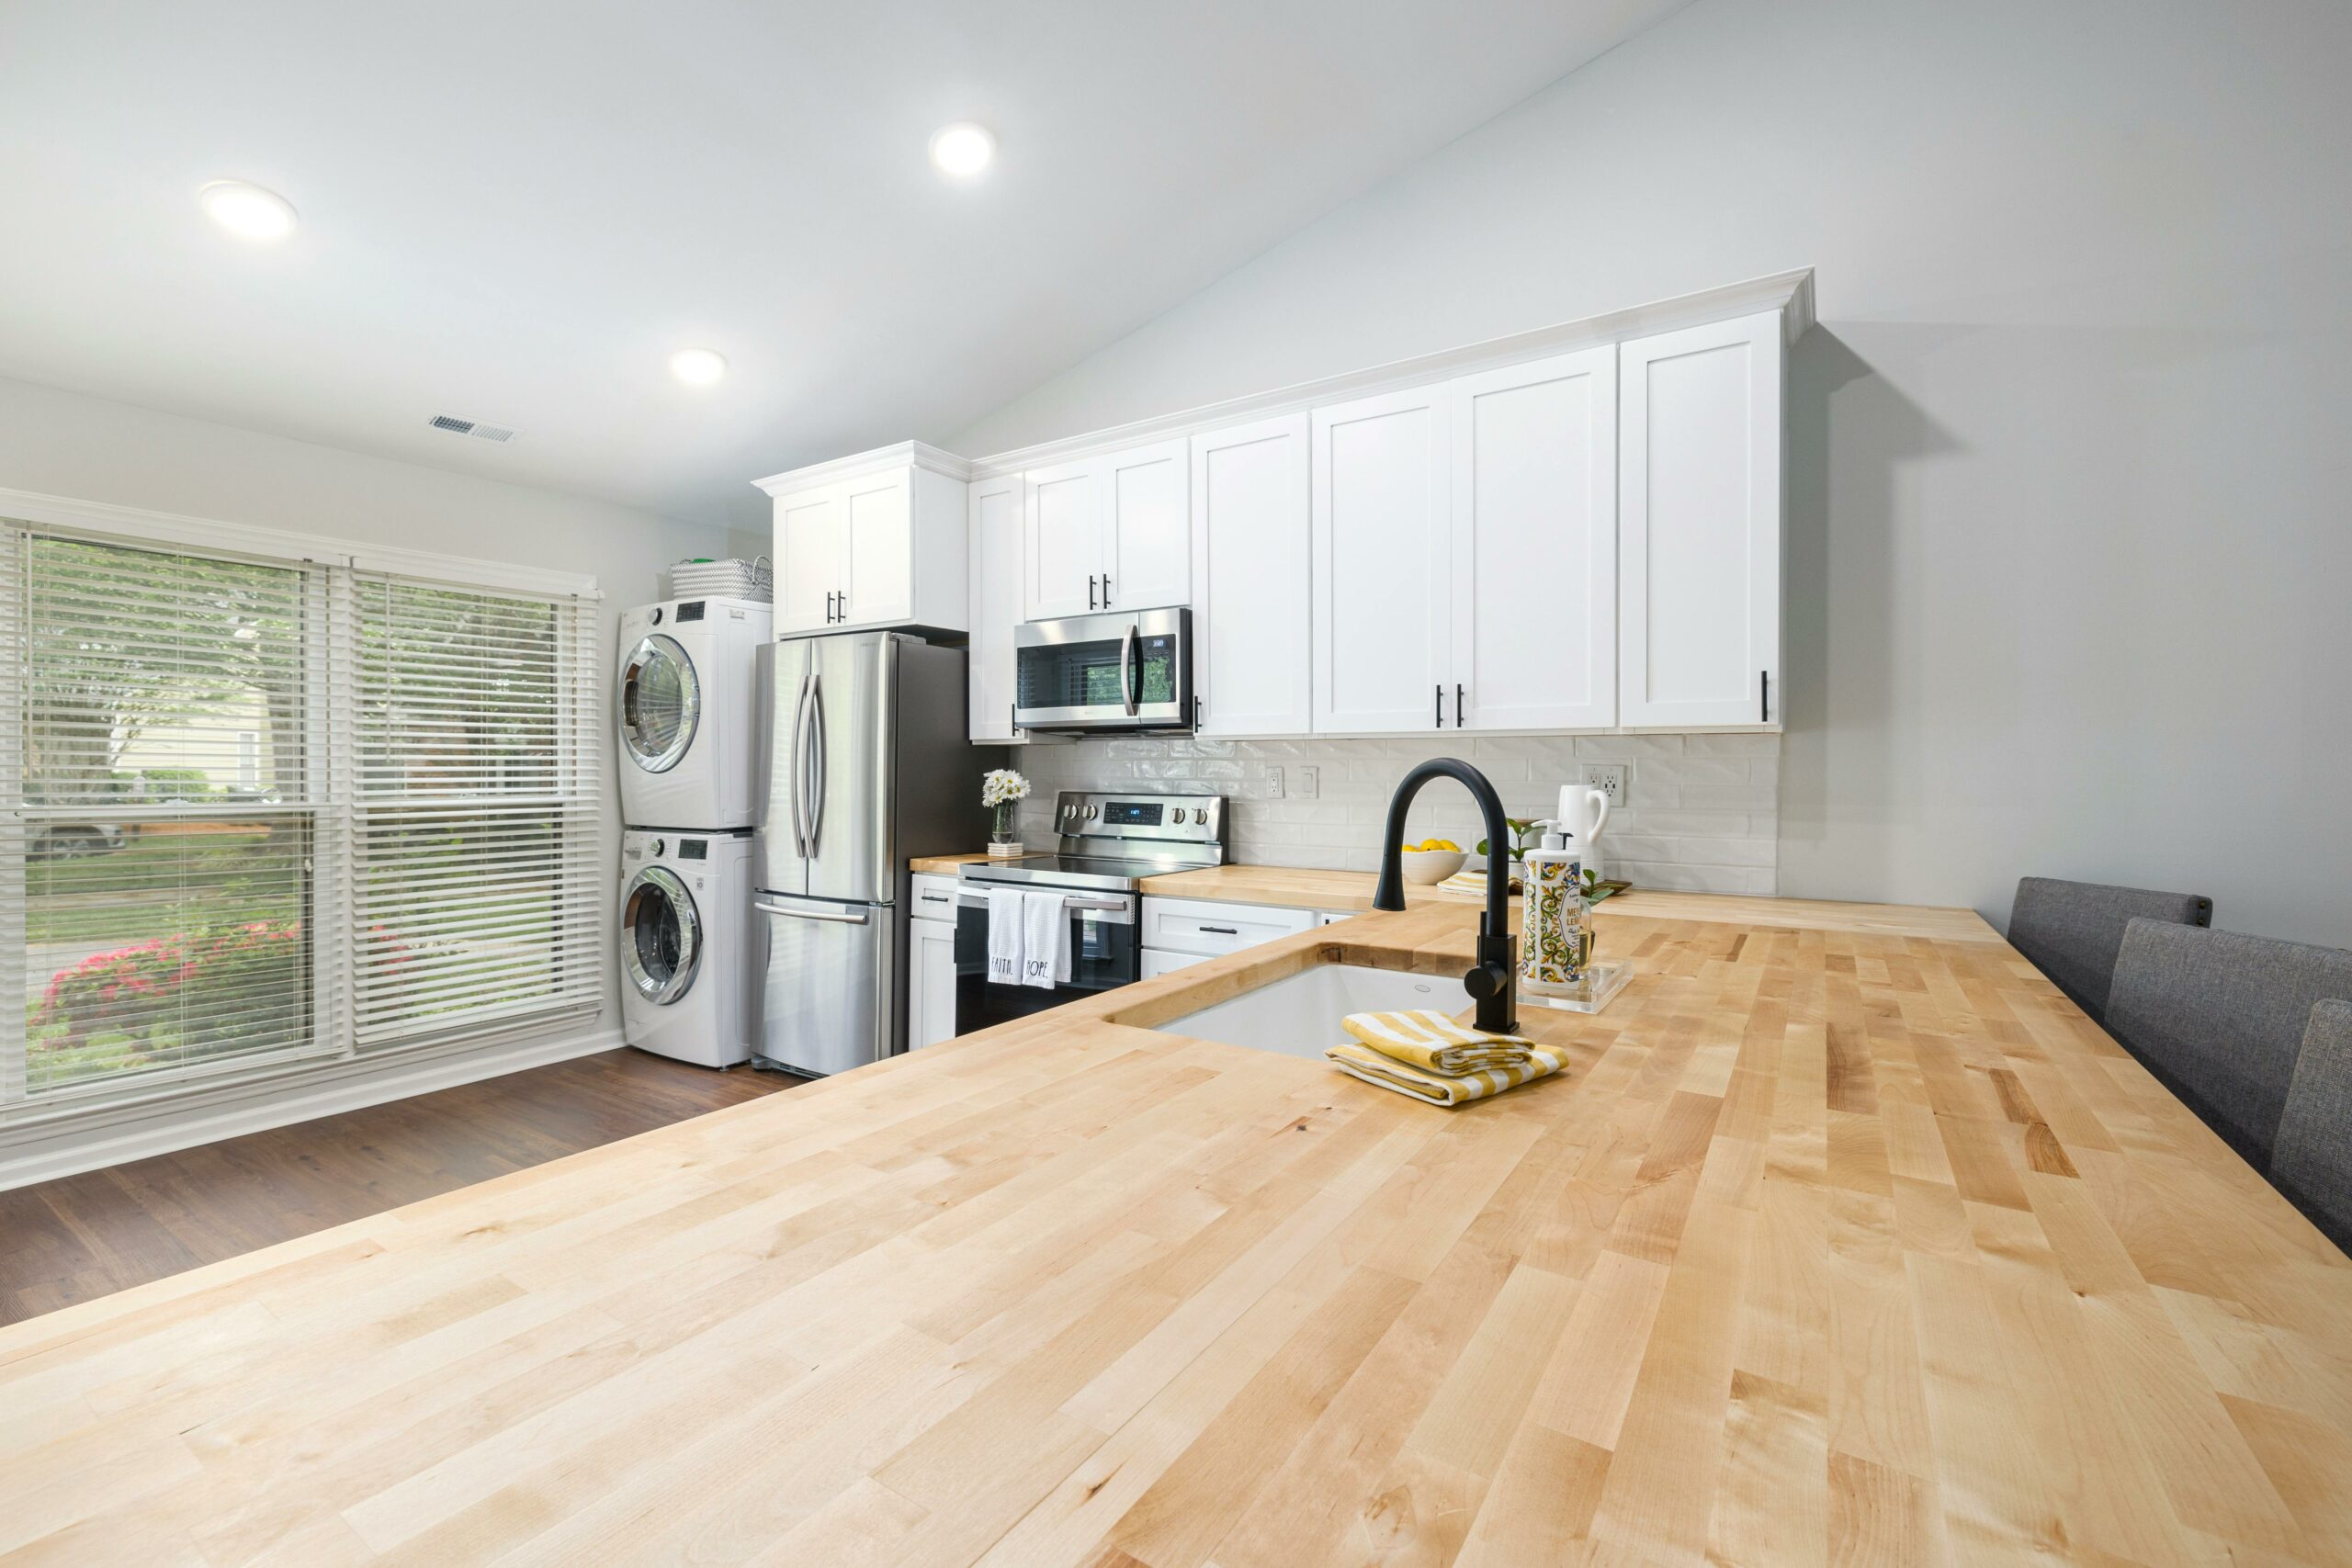
You’ll need a trusty microfiber cloth that is gentle on surfaces and helps in trapping dust effectively.
Opt for a mild soap that is safe for use on wood or laminate surfaces, as well as warm water to create a cleaning solution that will effectively remove grime and grease.
Having these supplies handy will ensure a smooth and effective cleaning process.
To make your cabinet cleaning task more manageable and efficient, start by emptying out the contents of your cabinets.
Removing items such as dishes, utensils, and food containers will not only give you better access to all cabinet surfaces but also prevent any accidental spills or damage to your belongings during the cleaning process.
Take this opportunity to declutter and organize your kitchen items before putting them back in freshly cleaned cabinets.

When it comes to cleaning your kitchen cabinets, the first step is to grab a soft microfiber cloth and start dusting off those pesky loose particles.
Dust can accumulate on the surface of your cabinets over time, making them look dull and dirty.
By gently wiping down the cabinets with a cloth, you can easily remove this layer of dust and prepare the surface for a deeper clean.
Next up, it’s time to tackle those cabinet surfaces with a mixture of warm water and mild soap.
Dip your cloth into the soapy solution and start wiping down the cabinets in gentle circular motions.
This method helps to loosen dirt and grime that may have built up over time.
Be sure to cover all areas thoroughly, including the top, bottom, and sides of each cabinet door.
Don’t forget about those handles and edges – they are prime spots for grime accumulation!
Use extra care when cleaning these areas, as they tend to trap dirt more easily.
Pay close attention to detail as you wipe down handles with soapy water, ensuring that every nook and cranny is thoroughly cleaned.
A little extra effort here goes a long way in keeping your kitchen cabinets looking fresh and spotless.

How To Wash Kitchen Cabinets
When regular cleaning just won’t cut it, it’s time to bring out the big guns – baking soda!
This humble kitchen staple works wonders on stubborn cabinet stains.
To make the magical baking soda paste, simply mix a small amount of baking soda with water in a bowl until you have a thick, spreadable consistency.
The mild abrasive properties of baking soda help to gently scrub away those pesky stains without damaging your cabinet surfaces.
Creating the perfect baking soda paste is all about finding the right balance between baking soda and water.
You want a mixture that’s thick enough to adhere to your cabinet surfaces but thin enough to spread easily.
Start with a small amount of baking soda in a bowl and gradually add water while stirring until you reach that ideal paste-like consistency.
It’s like achieving the perfect pancake batter, but for your cabinets!
Once you’ve whipped up your baking soda paste masterpiece, it’s time to put it to work on those stubborn stains.
Using a clean cloth or sponge, generously apply the paste to the affected areas of your cabinets.
Make sure to cover the entire stain with a nice thick layer of paste for maximum effectiveness.
Then comes the hard part – waiting!
Allow the paste to sit on the stain for at least 15-20 minutes (or longer for extra tough stains) before grabbing another clean cloth and gently wiping away the residue.
Watch those stains disappear like magic!
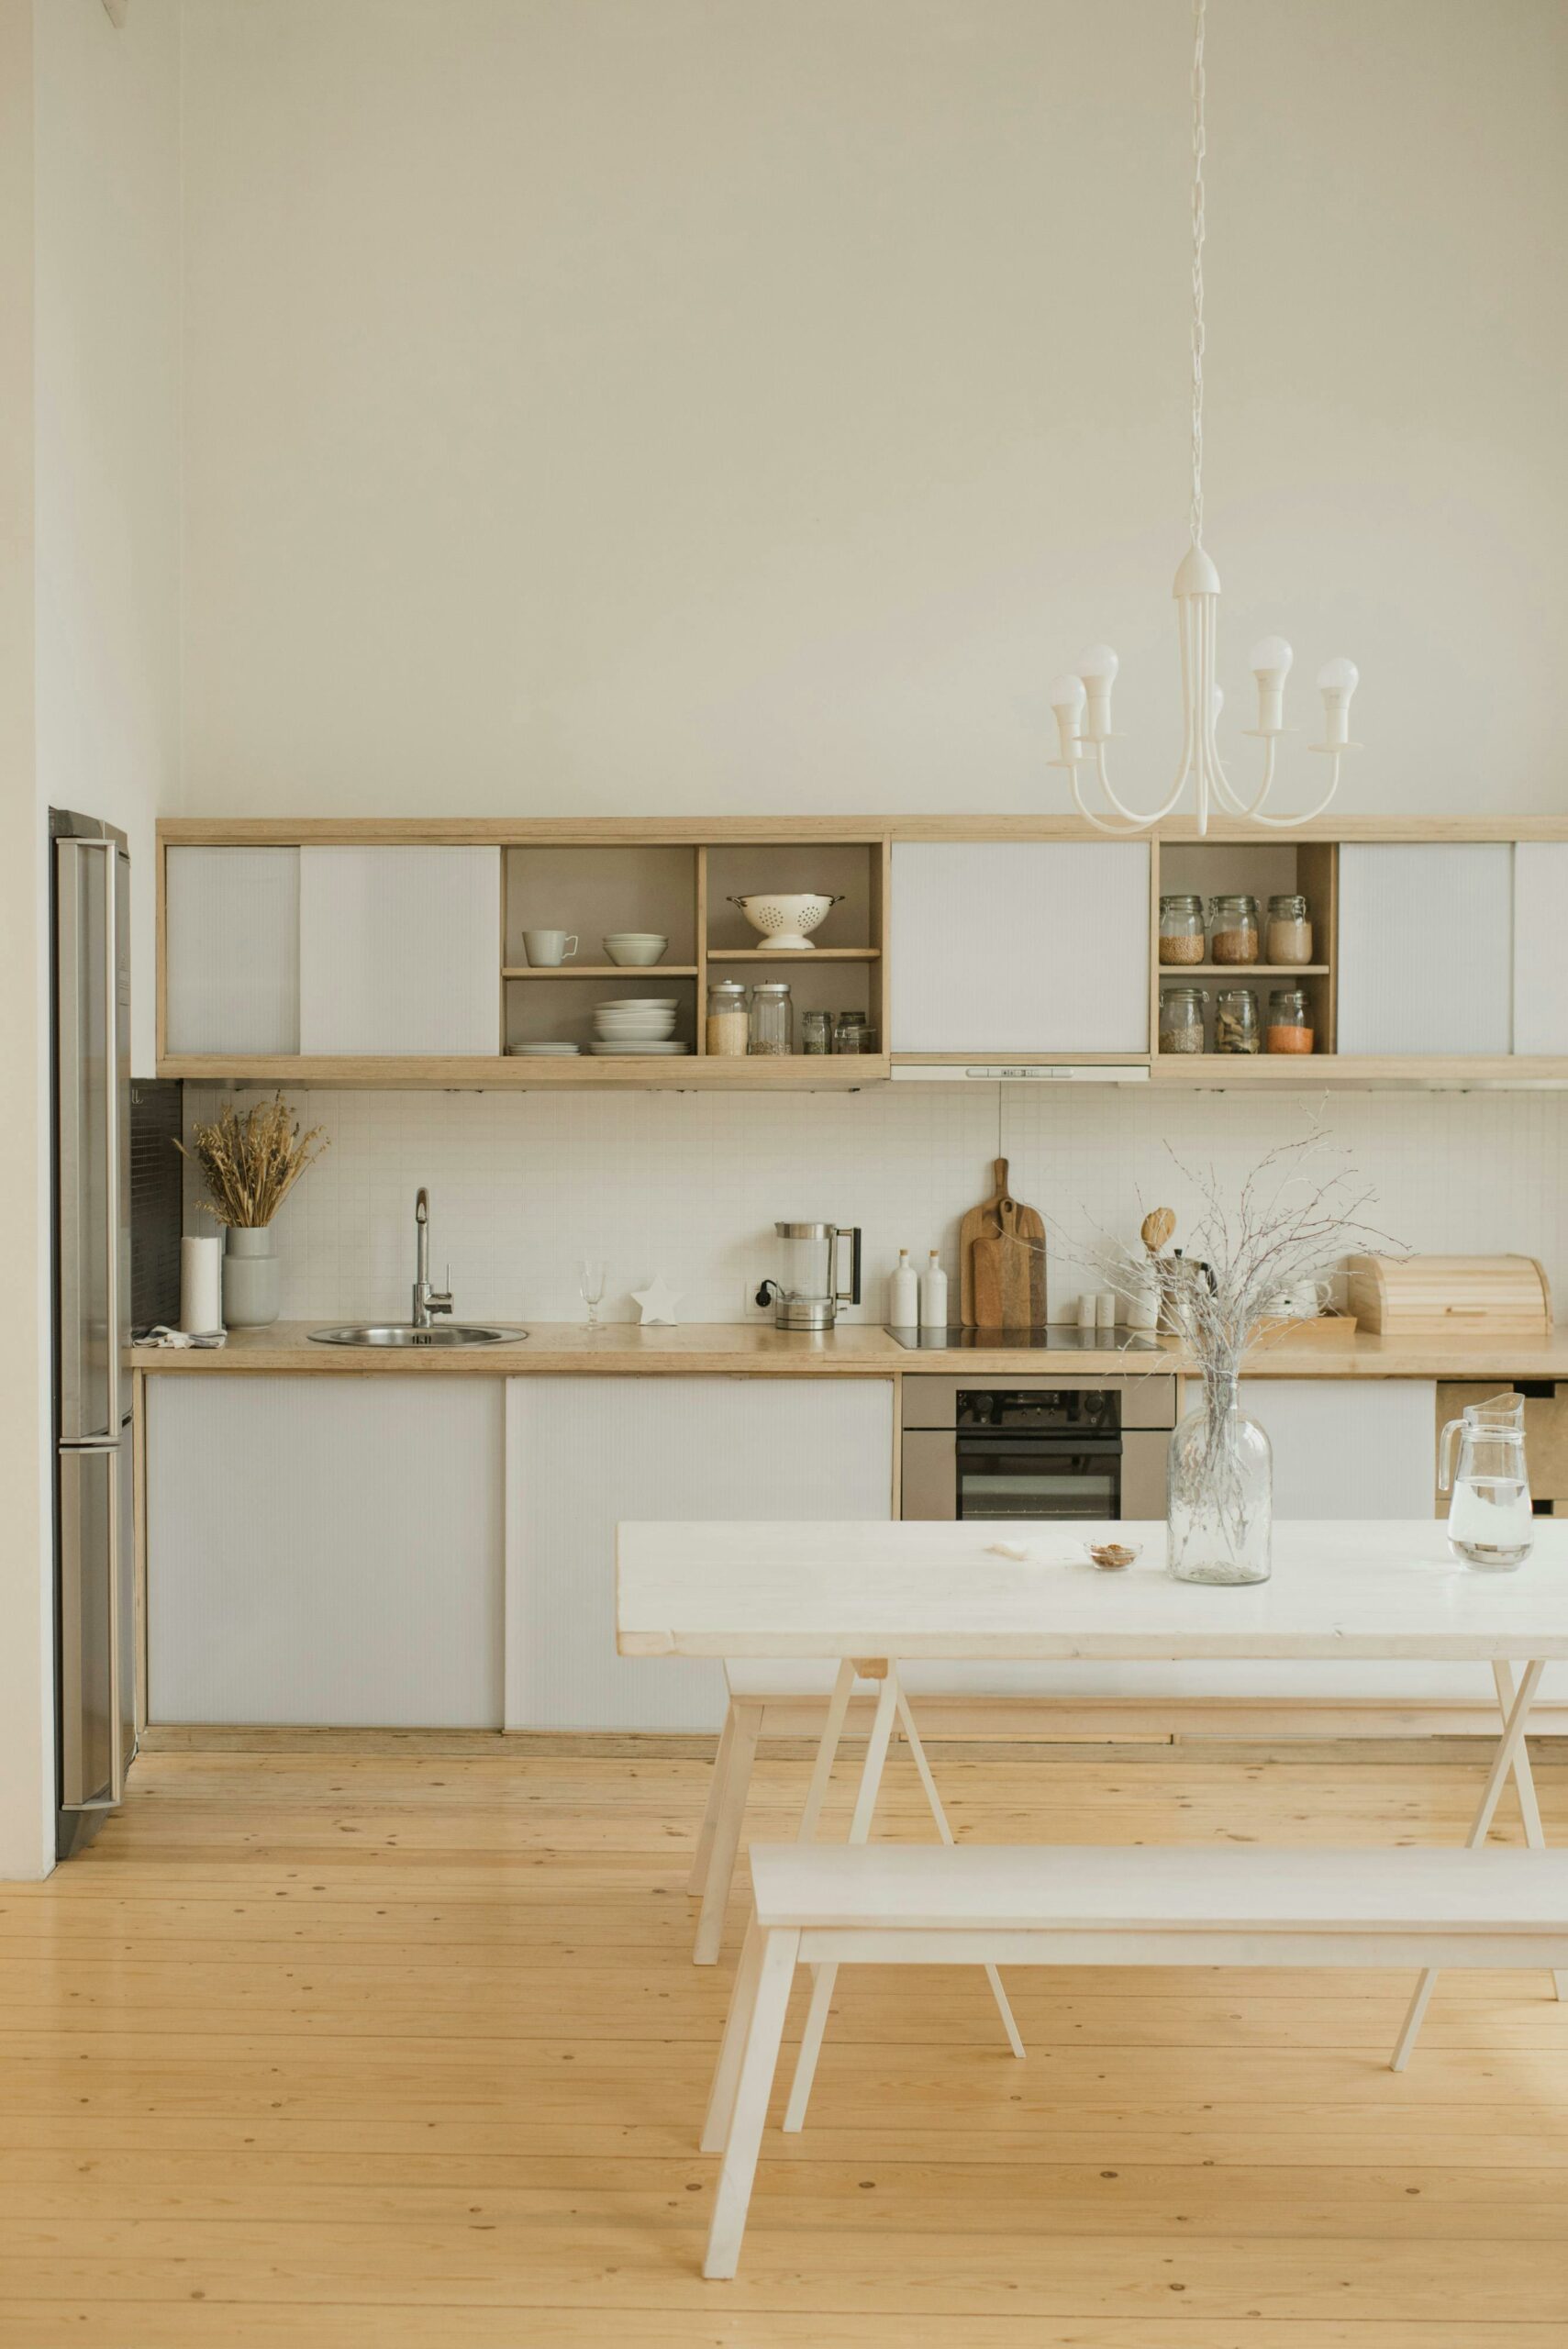
After cleaning your kitchen cabinets with soapy water, it’s crucial to properly dry them to prevent any water damage.
Grab a clean, dry cloth and gently wipe down all the surfaces of the cabinets.
Pay special attention to corners and crevices where water might linger.
Make sure to thoroughly dry both the exterior and interior of the cabinets to avoid any moisture seeping into the wood or causing warping.
For those looking to give their kitchen cabinets an extra touch of shine, consider polishing them with a wood polish product.
Once your cabinets are completely dry, apply a small amount of wood polish onto a soft cloth and gently rub it onto the cabinet surfaces in circular motions.
The wood polish not only adds a glossy finish but also helps protect the wood from scratches and wear over time.
Remember, this step is optional but can elevate the overall look of your kitchen cabinets!
Maintenance Tips
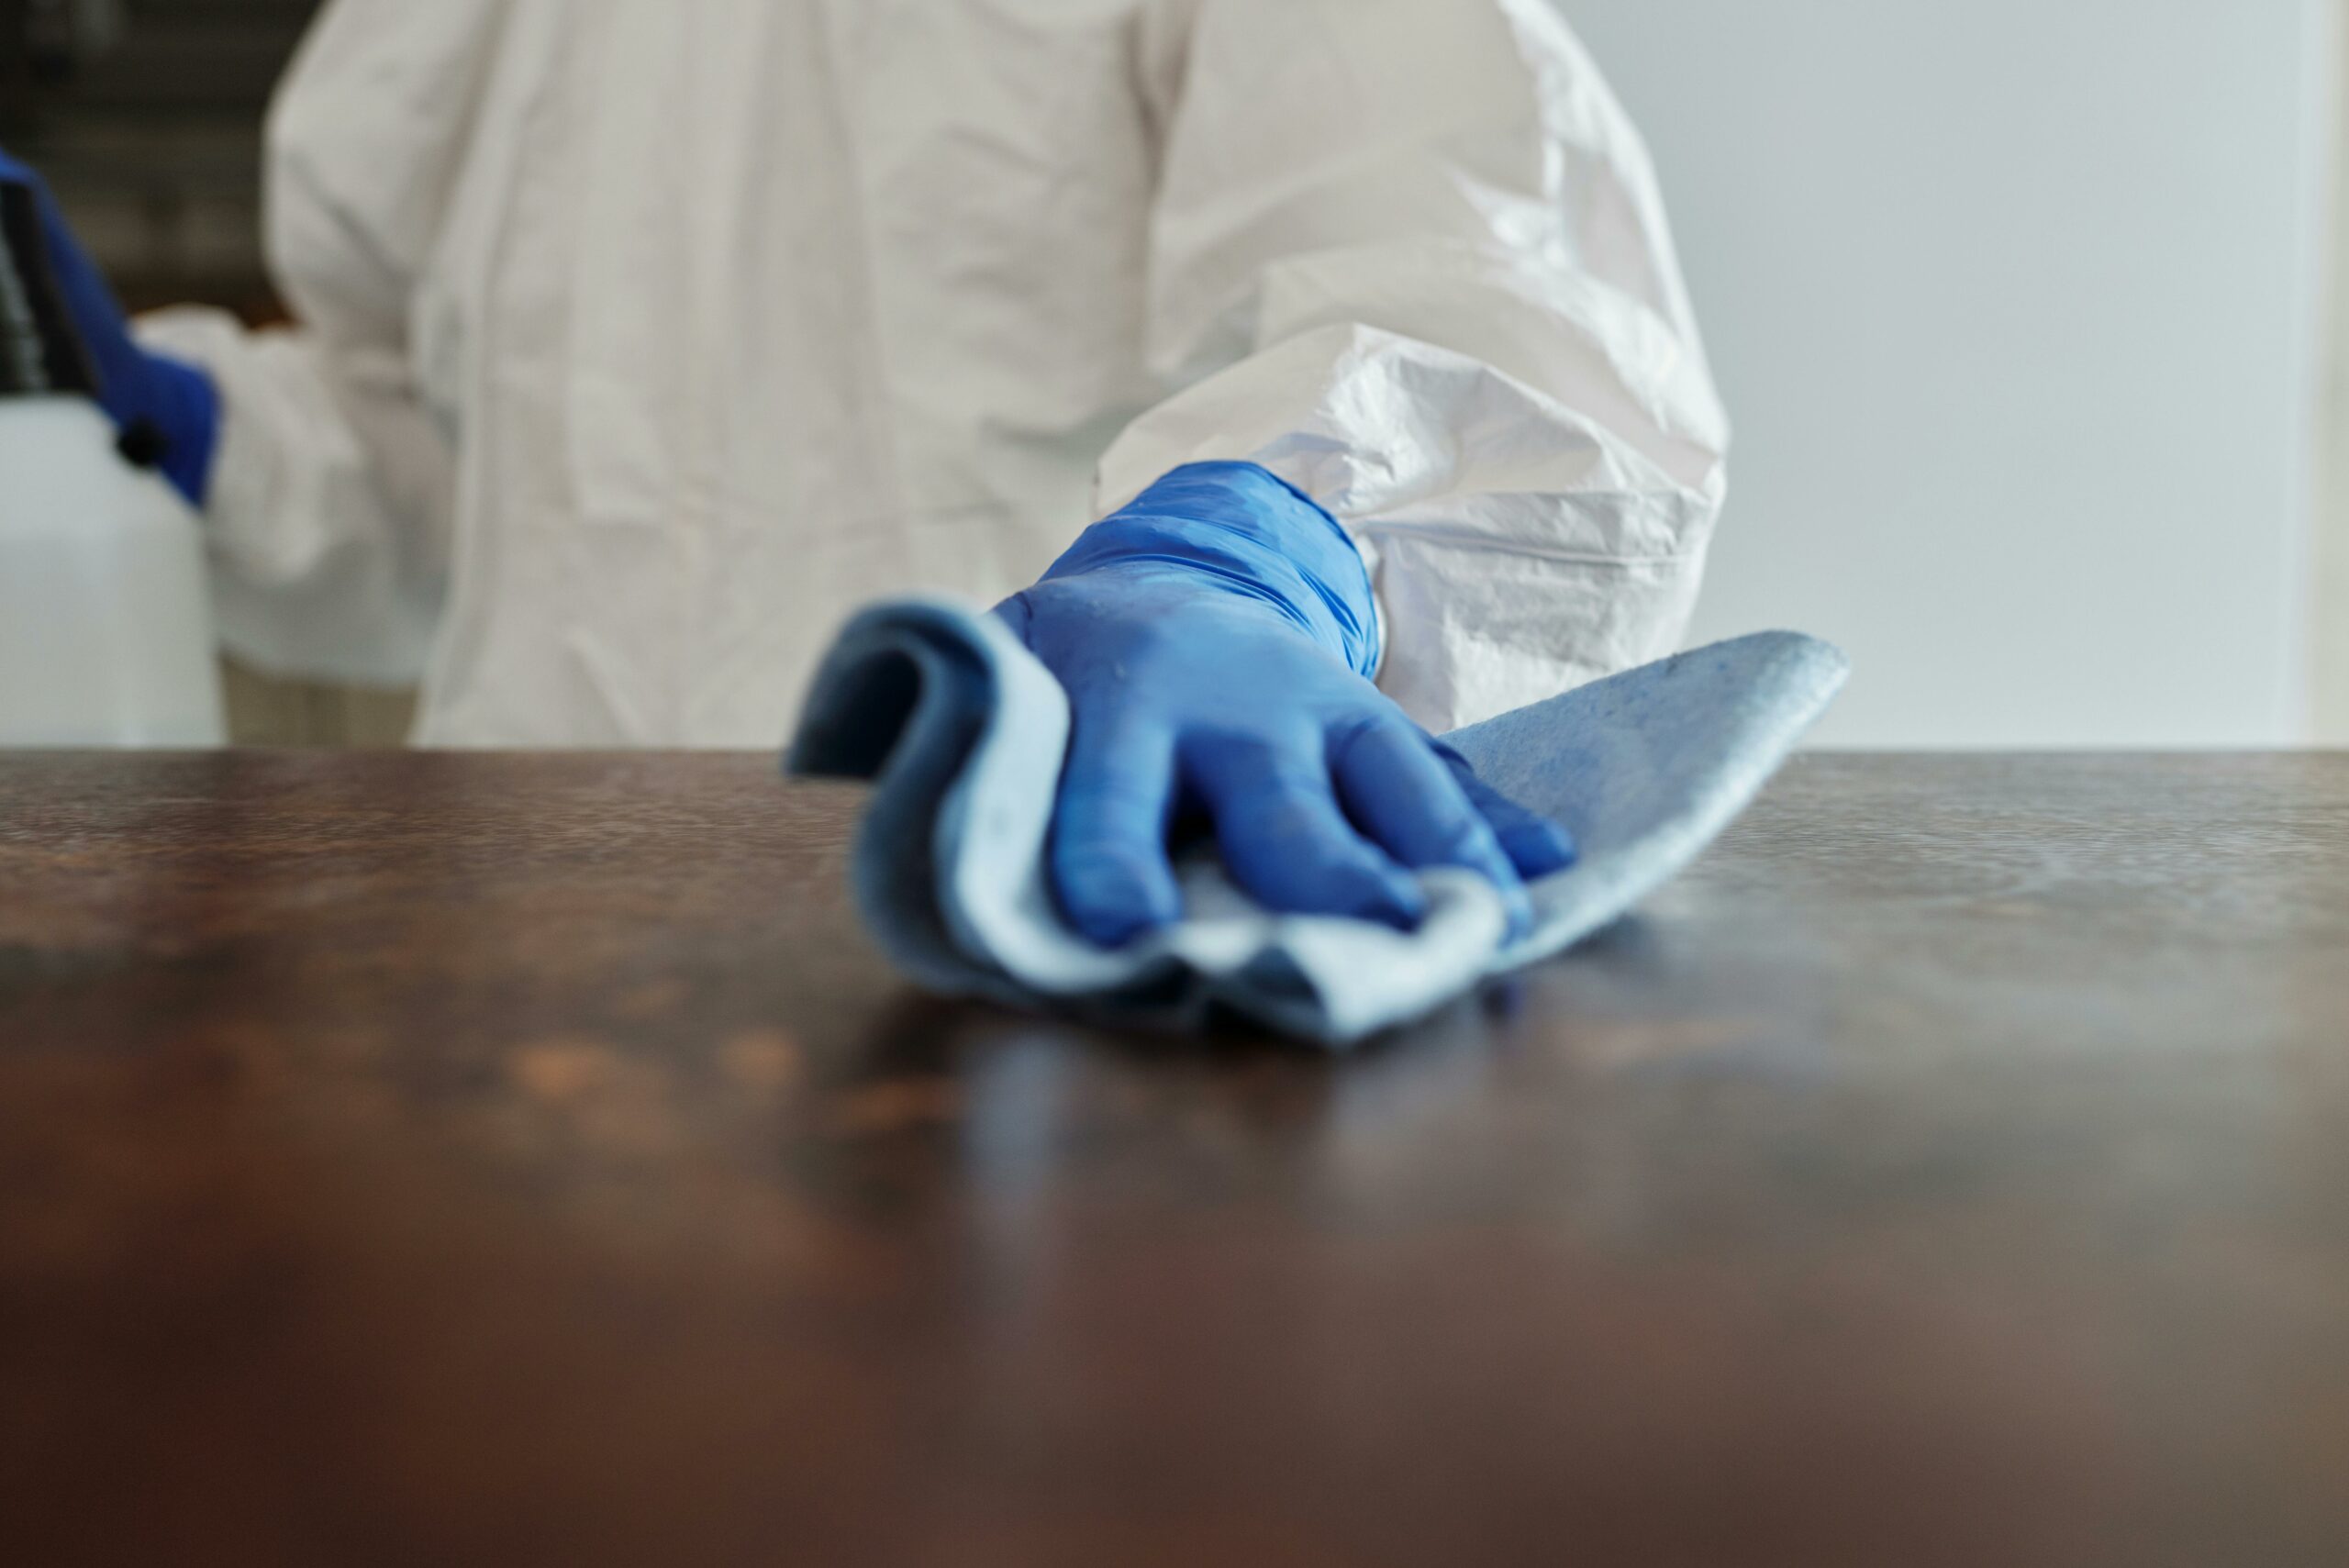
Dusting your kitchen cabinets regularly is key to maintaining their pristine appearance.
Use a soft, microfiber cloth to gently wipe away dust and dirt that can accumulate over time.
By incorporating dusting into your weekly cleaning routine, you can prevent buildup and keep your cabinets looking fresh and clean.
Don’t forget to pay attention to those often-neglected nooks and crannies where dust loves to hide!
When it comes to cleaning your kitchen cabinets, steer clear of harsh chemicals that can damage the finishes.
Opt for mild soap and warm water instead of abrasive cleaners that may strip away the protective layers of your cabinets.
Harsh chemicals not only dull the appearance of your cabinets but can also contribute to faster wear and tear over time.
Conclusion
Incorporating cabinet cleaning into your regular household routine doesn’t have to be a burdensome task.
Instead, consider it as a therapeutic practice that allows you to show love to an essential part of your living space.
Imagine the satisfaction you’ll feel each time you open those sparkling clean cabinet doors or reach for a utensil without encountering layers of grime.
Make it a habit, make it enjoyable, and make it yours – because every swipe of that cloth is an investment in the comfort and beauty of your home.
Embrace this ritual with open arms, knowing that each wipe brings you one step closer to kitchen serenity.
LOVE it? PIN it for Later!
