Steam damage on kitchen cabinets occurs when prolonged exposure to steam or moisture causes the wood to swell, warp, or develop unsightly stains.
Whether from cooking without proper ventilation or a leaky dishwasher, steam damage can mar the beauty of your cabinets and weaken their structure over time.
Taking prompt action and knowing how to repair steam damage on kitchen cabinets is crucial to prevent further deterioration.
Ignoring the damage can lead to mold growth, further warping of the wood, and even structural issues that may require costly repairs in the future.
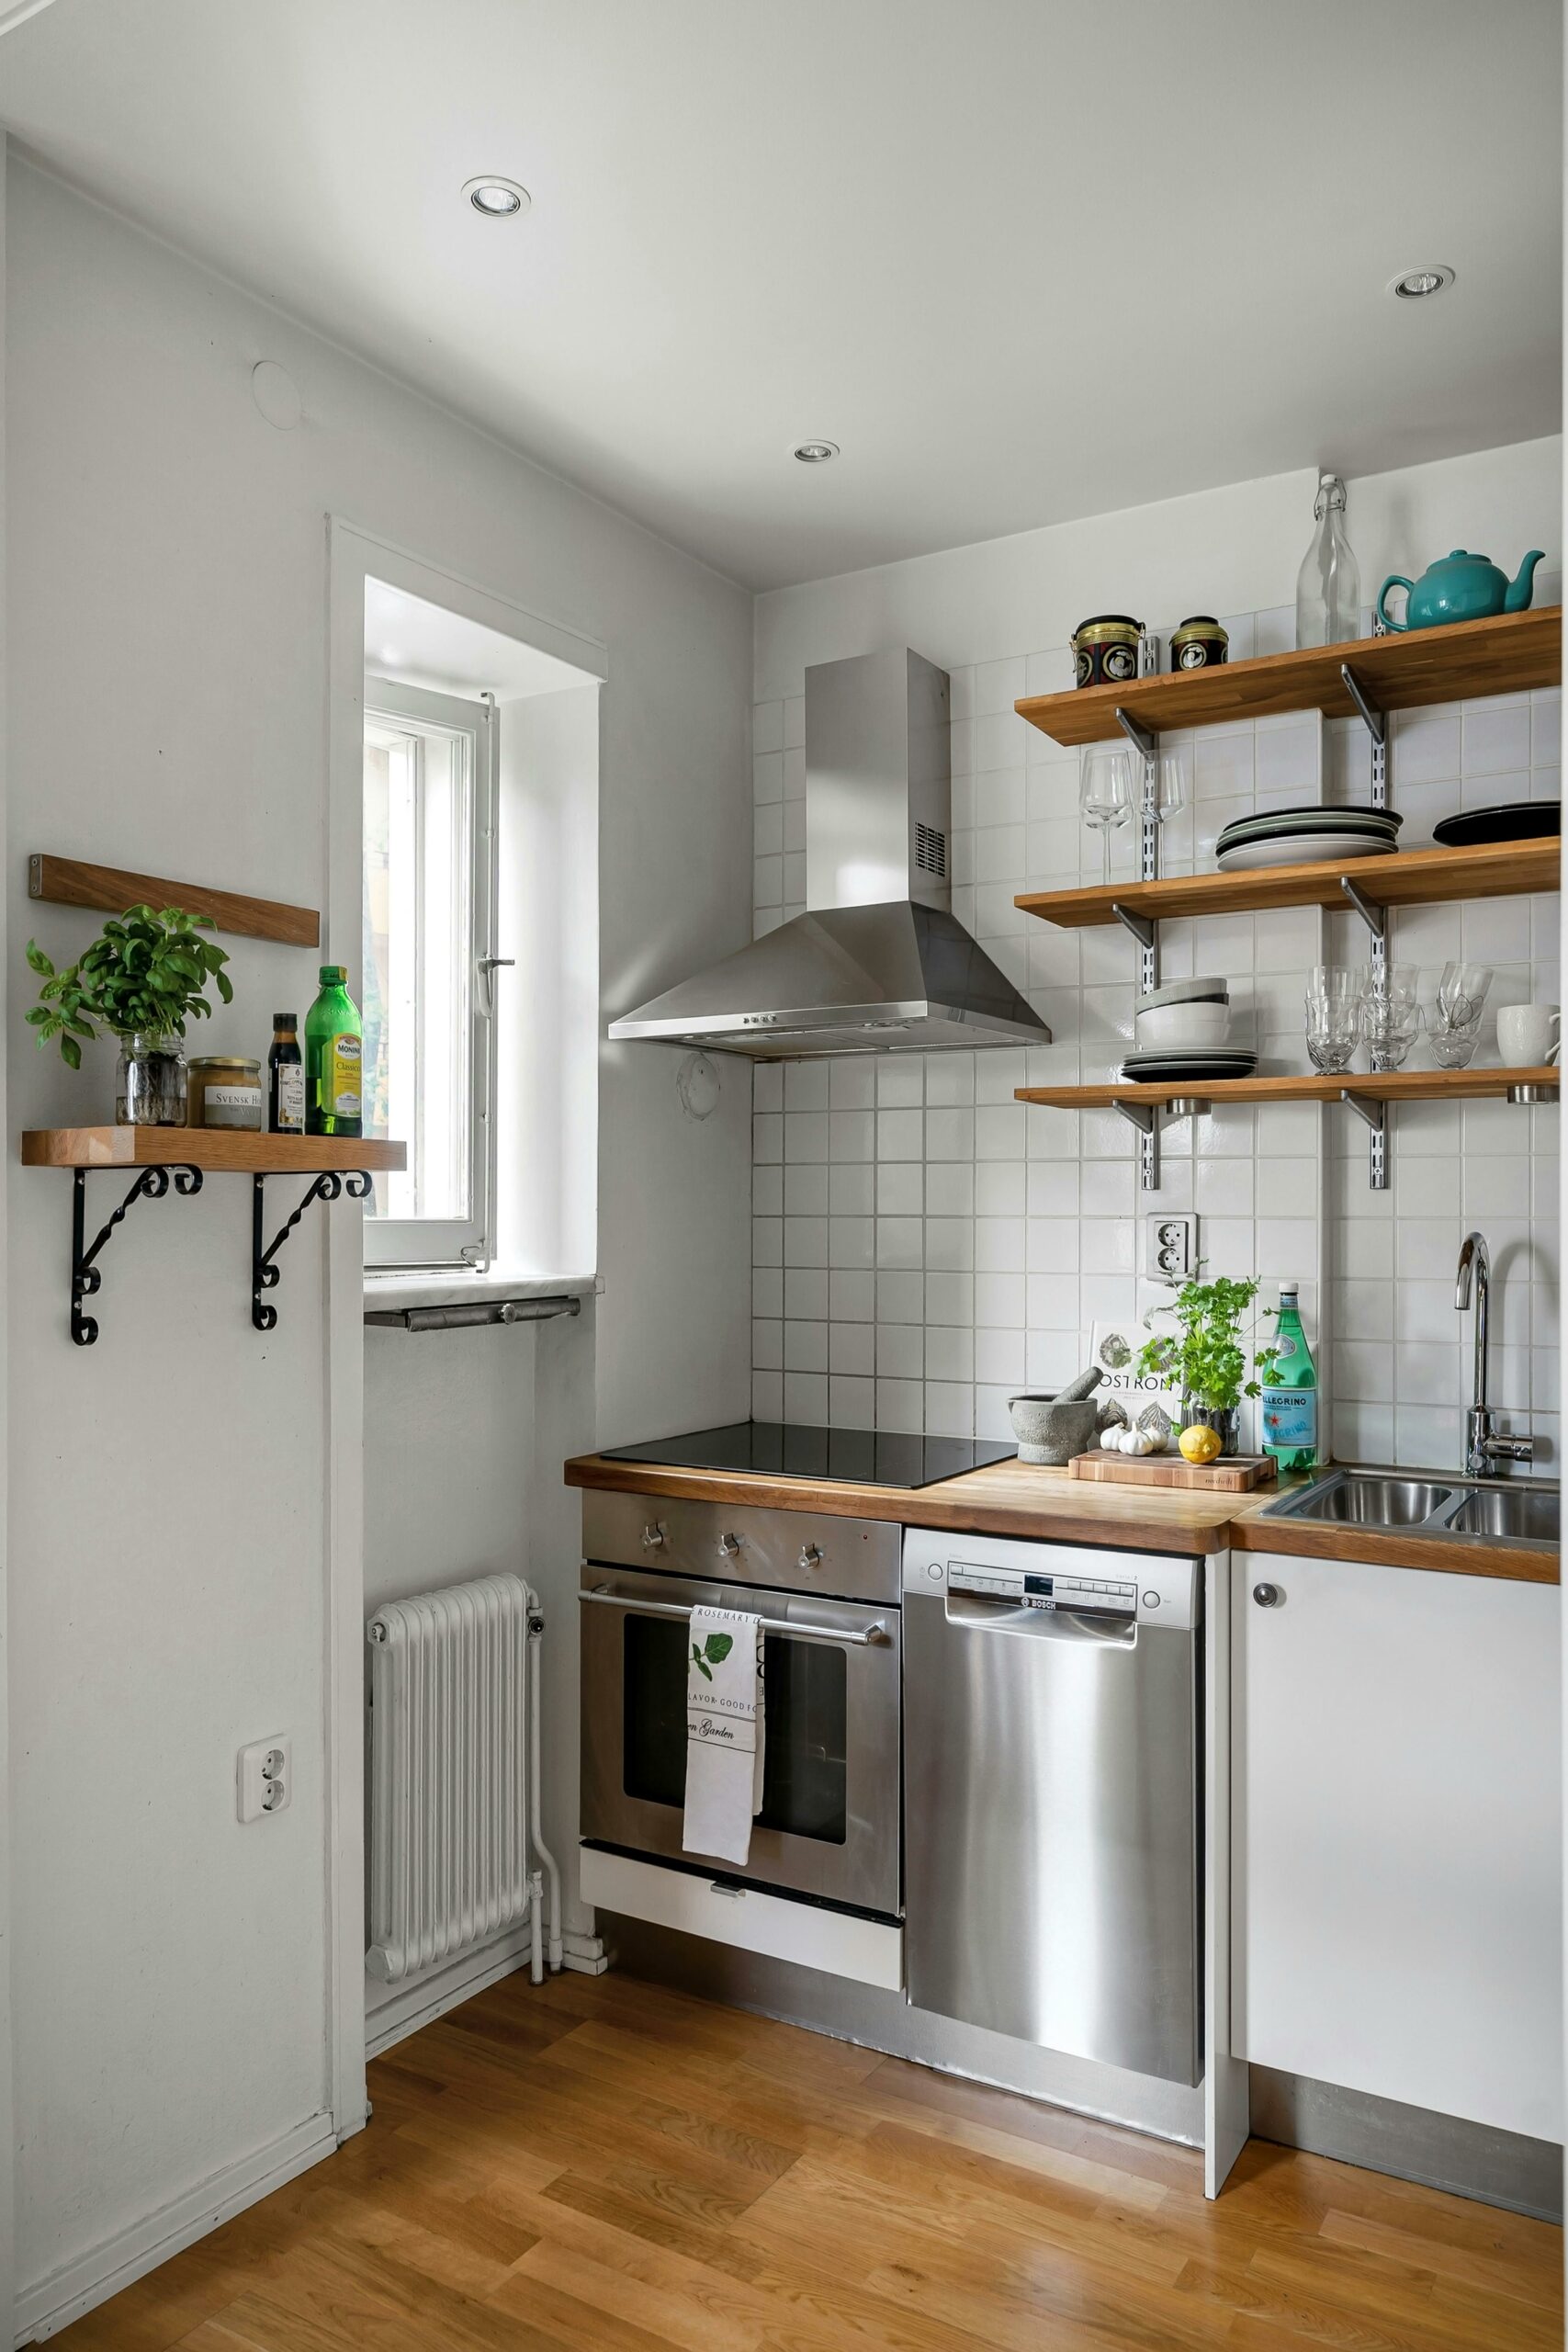
Importance of Repairing Steam Damage Promptly
Addressing steam damage promptly is crucial in preserving the beauty and functionality of your kitchen cabinets.
Left unchecked, steam damage can lead to irreversible harm such as mold growth, swelling wood fibers, and unsightly blemishes that diminish the aesthetic appeal of your kitchen space.
By taking swift action to repair steam damage as soon as it’s noticed, you can prevent further deterioration and extend the lifespan of your beloved cabinets.
Assessing the Damage
When it comes to assessing steam damage on your kitchen cabinets, it’s crucial to take a close look at the extent of the problem.
Start by examining all surfaces of the cabinets, including both the exterior and interior areas.
Look for any signs of discoloration, warping, or peeling that could indicate water damage from steam.
Pay special attention to areas near stovetops and dishwashers where steam is more likely to accumulate.
Take note of any soft spots or bubbling in the cabinet material, as these are clear indicators of damage.
Identifying Areas that Need Repair
After inspecting the damage, it’s time to identify specific areas that require repair.
Focus on sections that show visible signs of deterioration or weakening due to prolonged exposure to steam.
Check for any loose or cracked paint, swollen wood fibers, or mold growth that may have developed as a result of moisture intrusion.
Make a detailed list of all the spots that need attention so you can tackle each repair task efficiently.
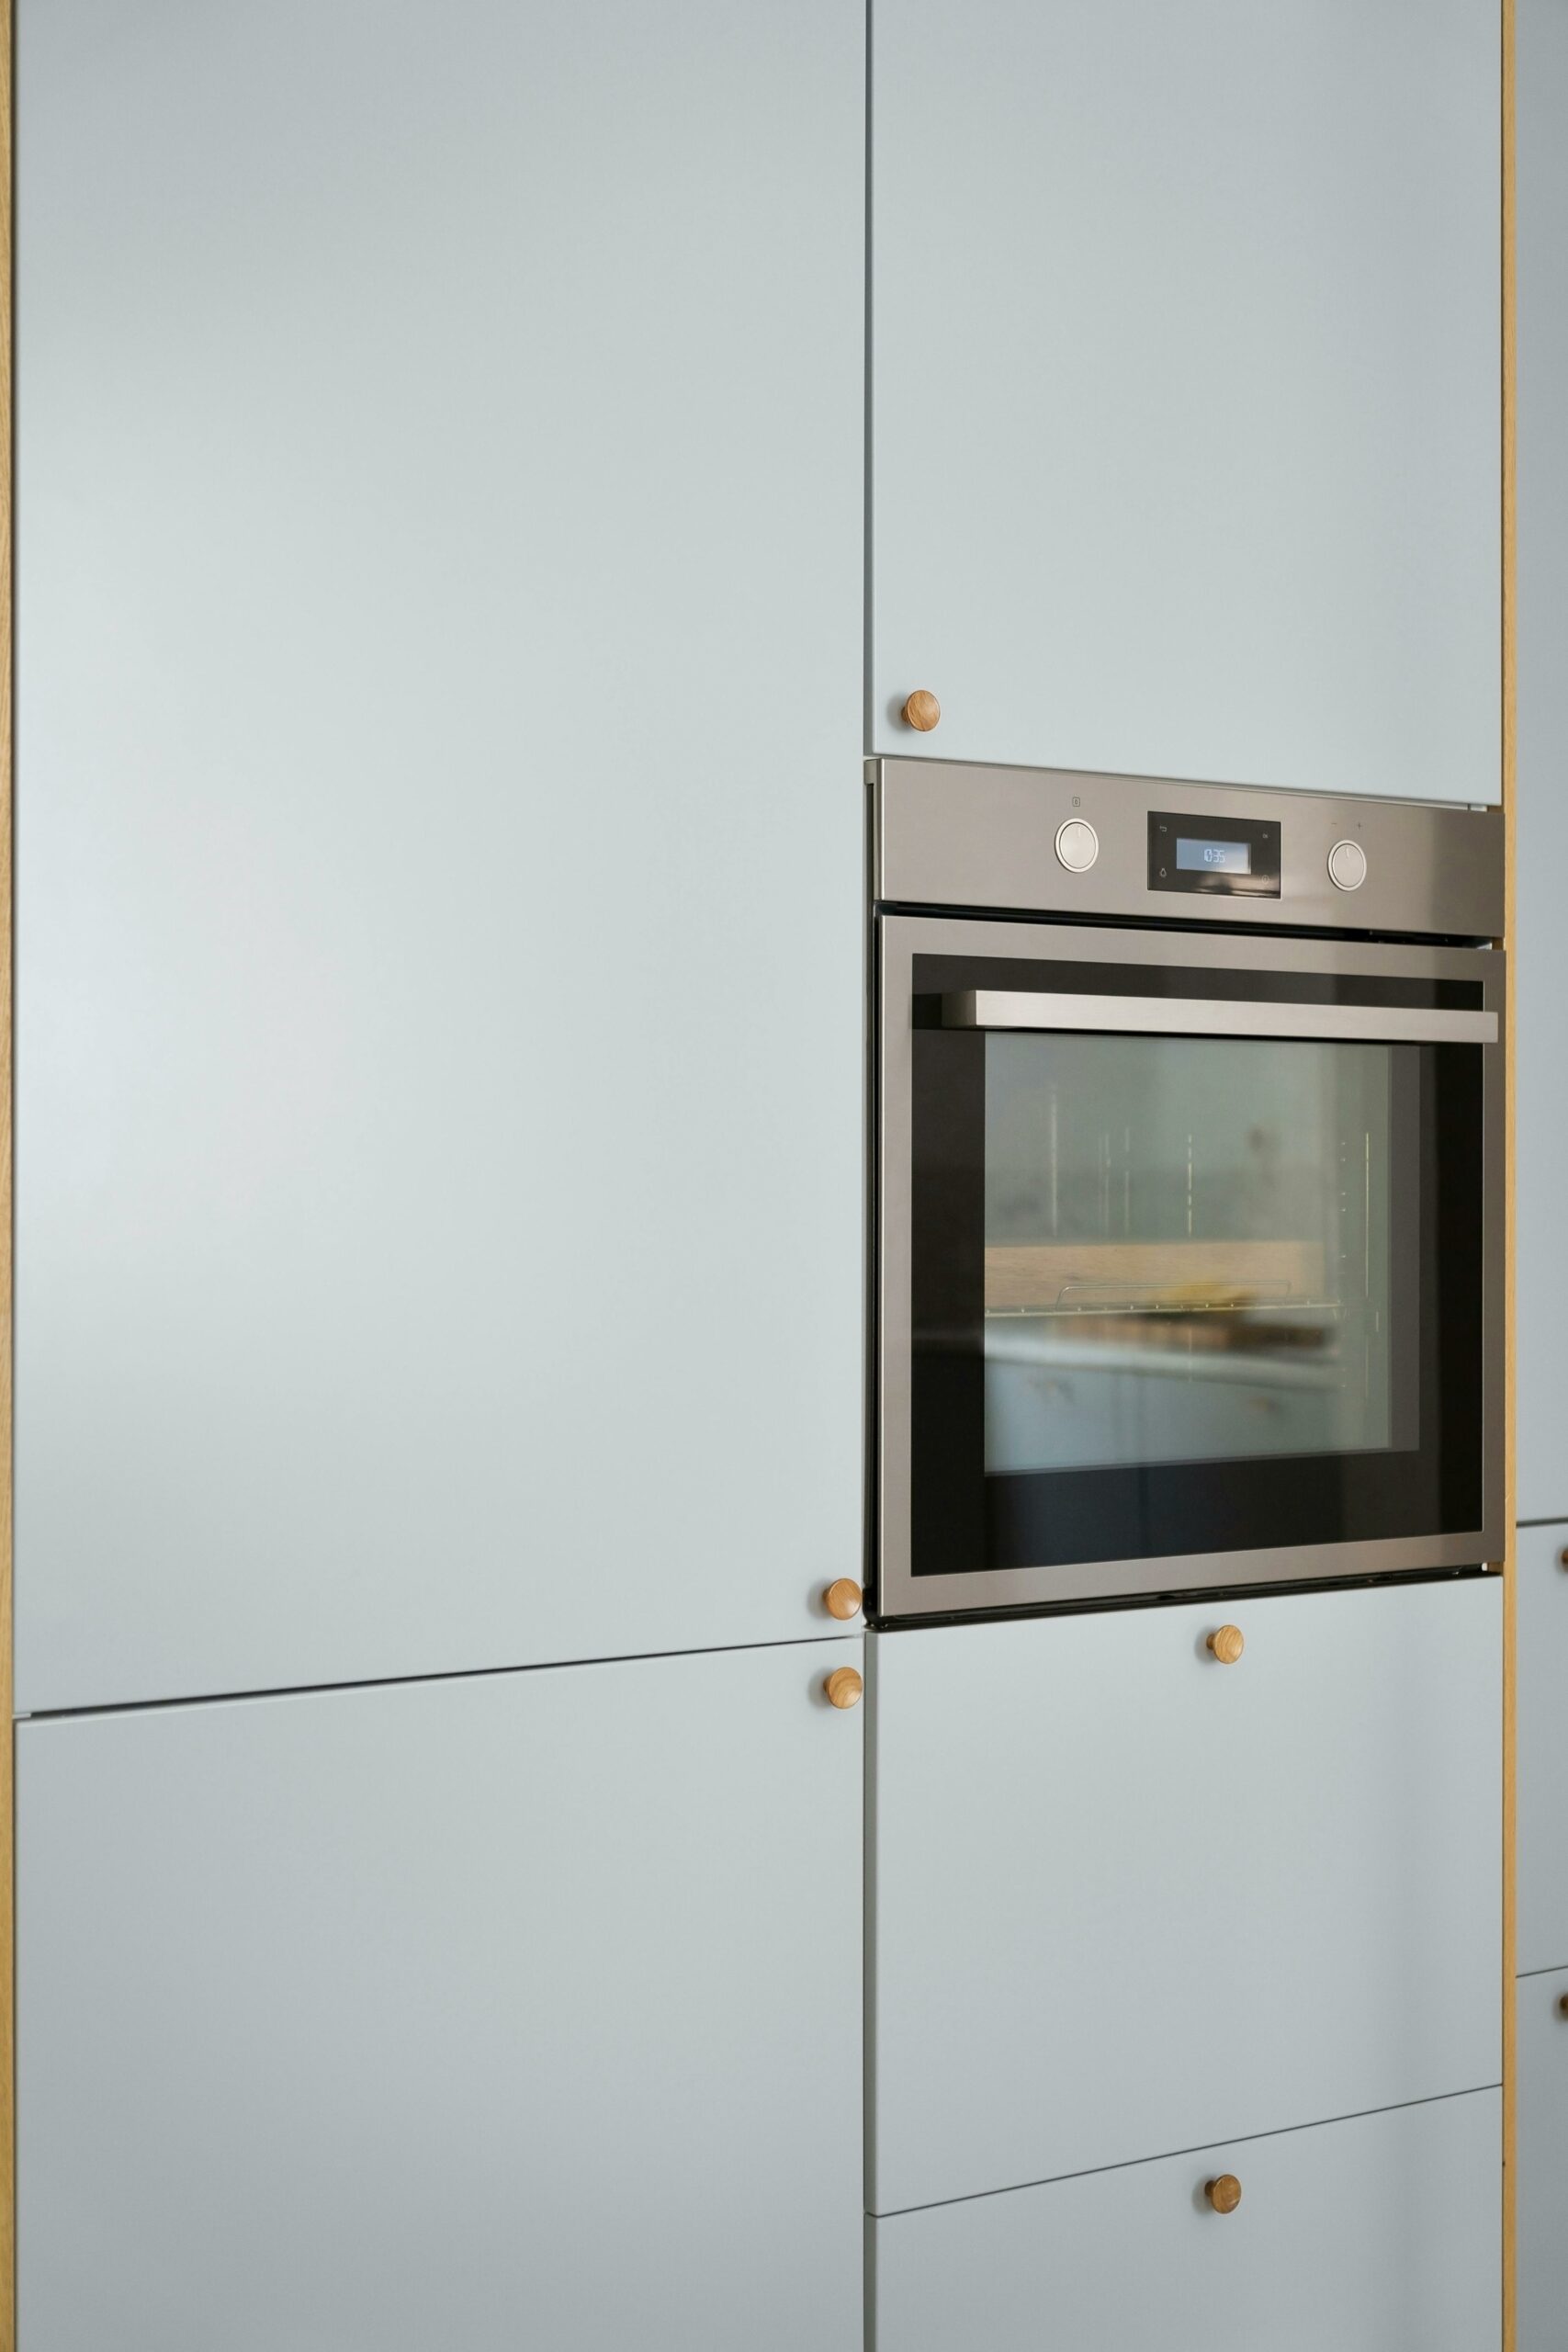
How To Repair Steam Damage On Kitchen Cabinets
Soft cloths or sponges
When it comes to repairing steam damage on your kitchen cabinets, having soft cloths or sponges on hand is essential.
These tools will help you gently clean the affected areas without causing further damage.
Make sure the cloths are clean and free of any debris that could scratch the cabinet surface.
Sponges are great for applying wood cleaner or mild detergent, as they can help lift away dirt and grime efficiently.
Wood cleaner or mild detergent
To effectively remove grime and grease caused by steam damage, a good quality wood cleaner or mild detergent is key.
Look for products specifically designed for cleaning wood surfaces to avoid harsh chemicals that can strip the finish off your cabinets.
Apply the cleaner with a soft cloth or sponge in gentle circular motions, ensuring you cover all areas affected by steam damage.
Sandpaper (fine grit)
For smoothing out rough spots and preparing the damaged area for repair, fine grit sandpaper is a must-have tool.
Gently sand down any raised fibers or rough patches caused by the steam, being careful not to remove too much material from the cabinet surface.
The goal is to create a smooth and even surface for applying wood filler or putty later on.

Wood filler or putty
To fill in any deep cracks or holes left behind by steam damage, you’ll need a reliable wood filler or putty.
Choose a product that matches the color of your cabinets for seamless repairs.
Apply the filler using a putty knife, smoothing it evenly over the damaged area and ensuring it fills all crevices completely.
Allow ample time for the filler to dry before proceeding to sand it down.
Paint or wood stain (matching cabinet color)
Once you have cleaned, sanded, and filled in the damaged areas on your cabinets, it’s time to restore their original beauty with paint or wood stain matching their color.
Select a high-quality paint or stain that closely matches your cabinet finish for best results.
Apply thin coats using a brush designed for fine detail work, allowing each layer to dry completely before adding another coat.
This final step will blend in your repairs seamlessly with the rest of your kitchen cabinetry.
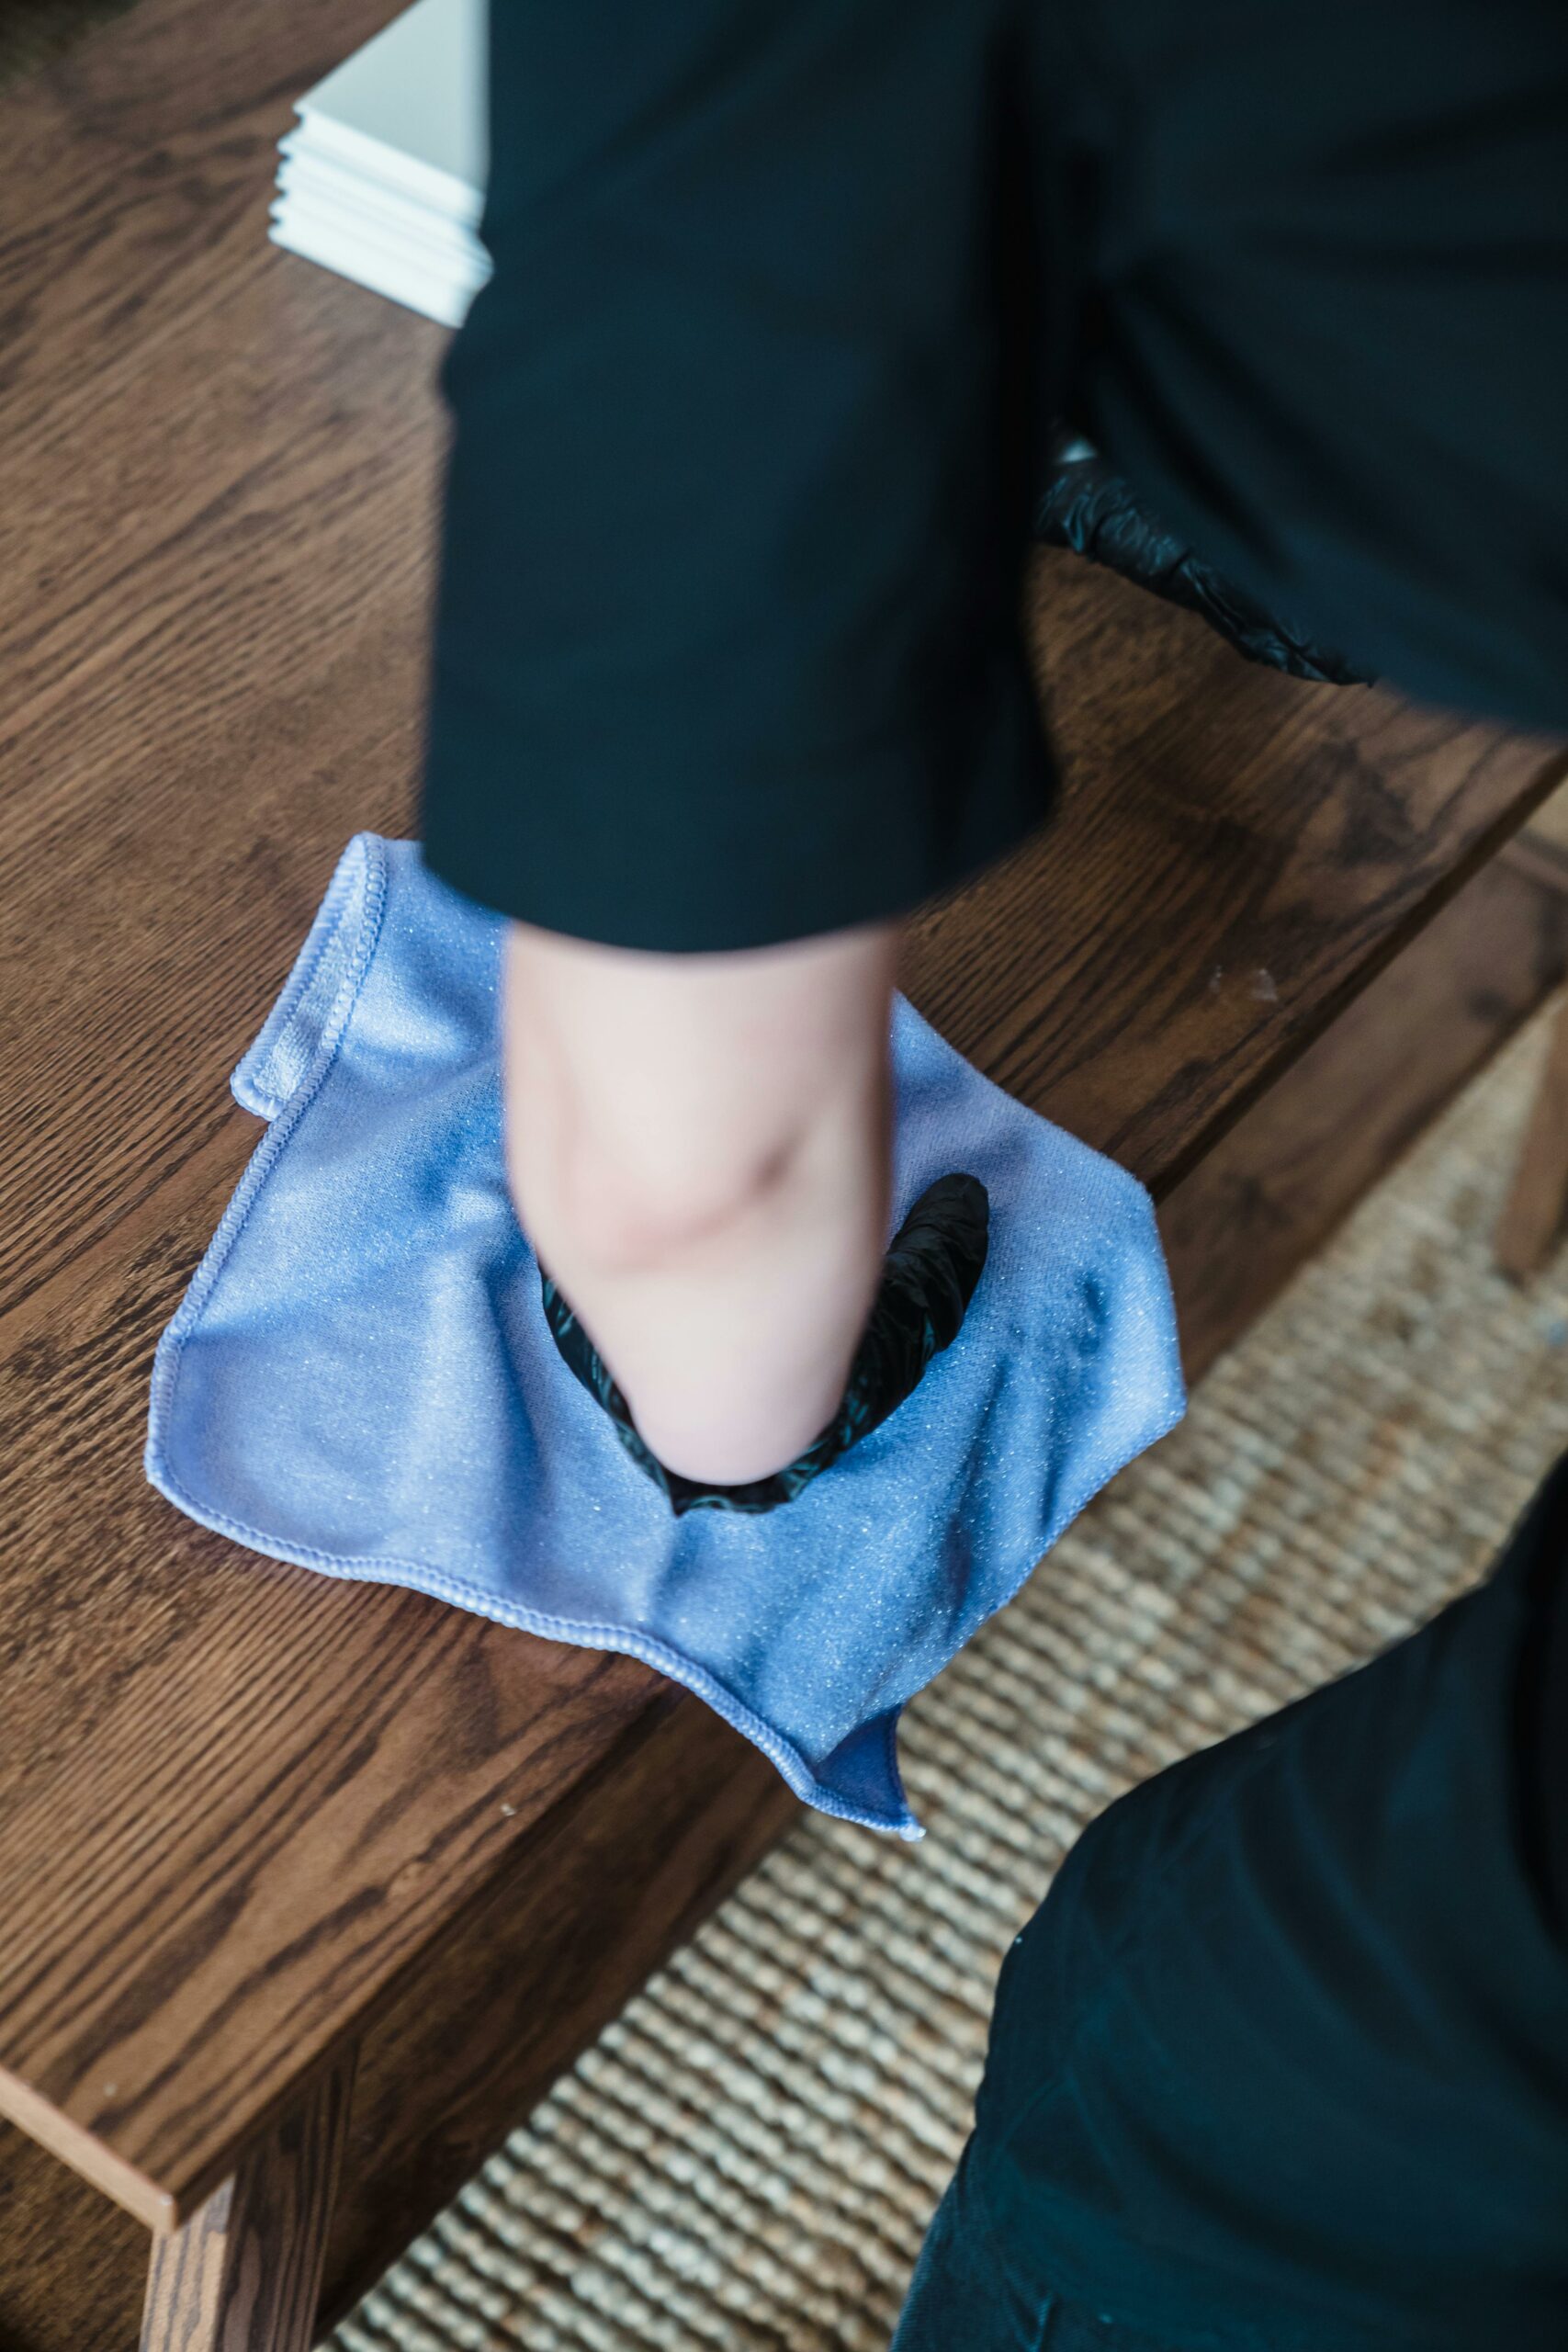
Repair Process
Cleaning and Sanding:
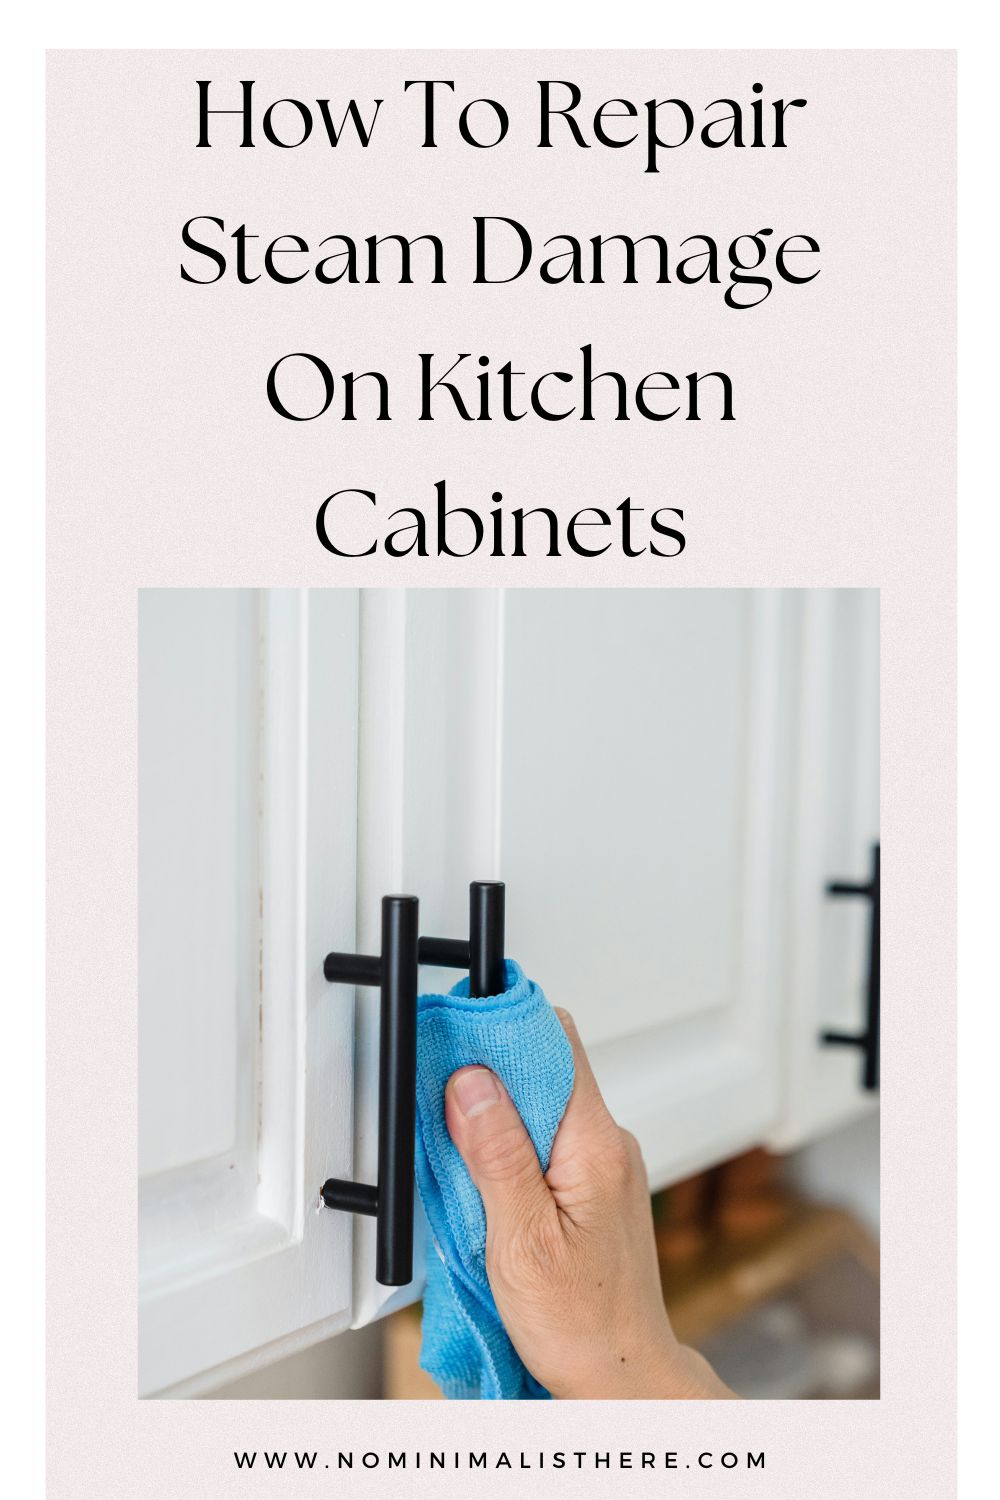
When tackling steam damage on your kitchen cabinets, start by gently cleaning the affected area with a soft cloth dipped in a wood cleaner.
This will help remove any dirt or grime accumulated due to the moisture.
Next, grab some sandpaper and carefully sand down any raised fibers or rough spots caused by the steam.
Be thorough but gentle to ensure a smooth surface for the upcoming repair steps.
Wood Filler and Painting:
After cleaning and smoothing out the damaged area, it’s time to fill in any deep cracks or holes with wood filler or putty.
Apply the filler generously, making sure to fill all crevices completely.
Allow the filler to dry completely before grabbing your sandpaper again to gently sand it smooth.
Once you’ve achieved a seamless finish, paint or stain the repaired area to perfectly match the rest of your cabinet for a flawless look.
Preventative Measures
Utilizing Vent Hood:
To avoid future steam damage on your kitchen cabinets, make it a habit to use a vent hood while cooking.
The hood will help reduce steam buildup in your kitchen by efficiently capturing excess moisture and redirecting it outside.
Not only does this protect your cabinets from potential damage, but it also helps maintain better air quality in your home.
Regular Wiping Down:
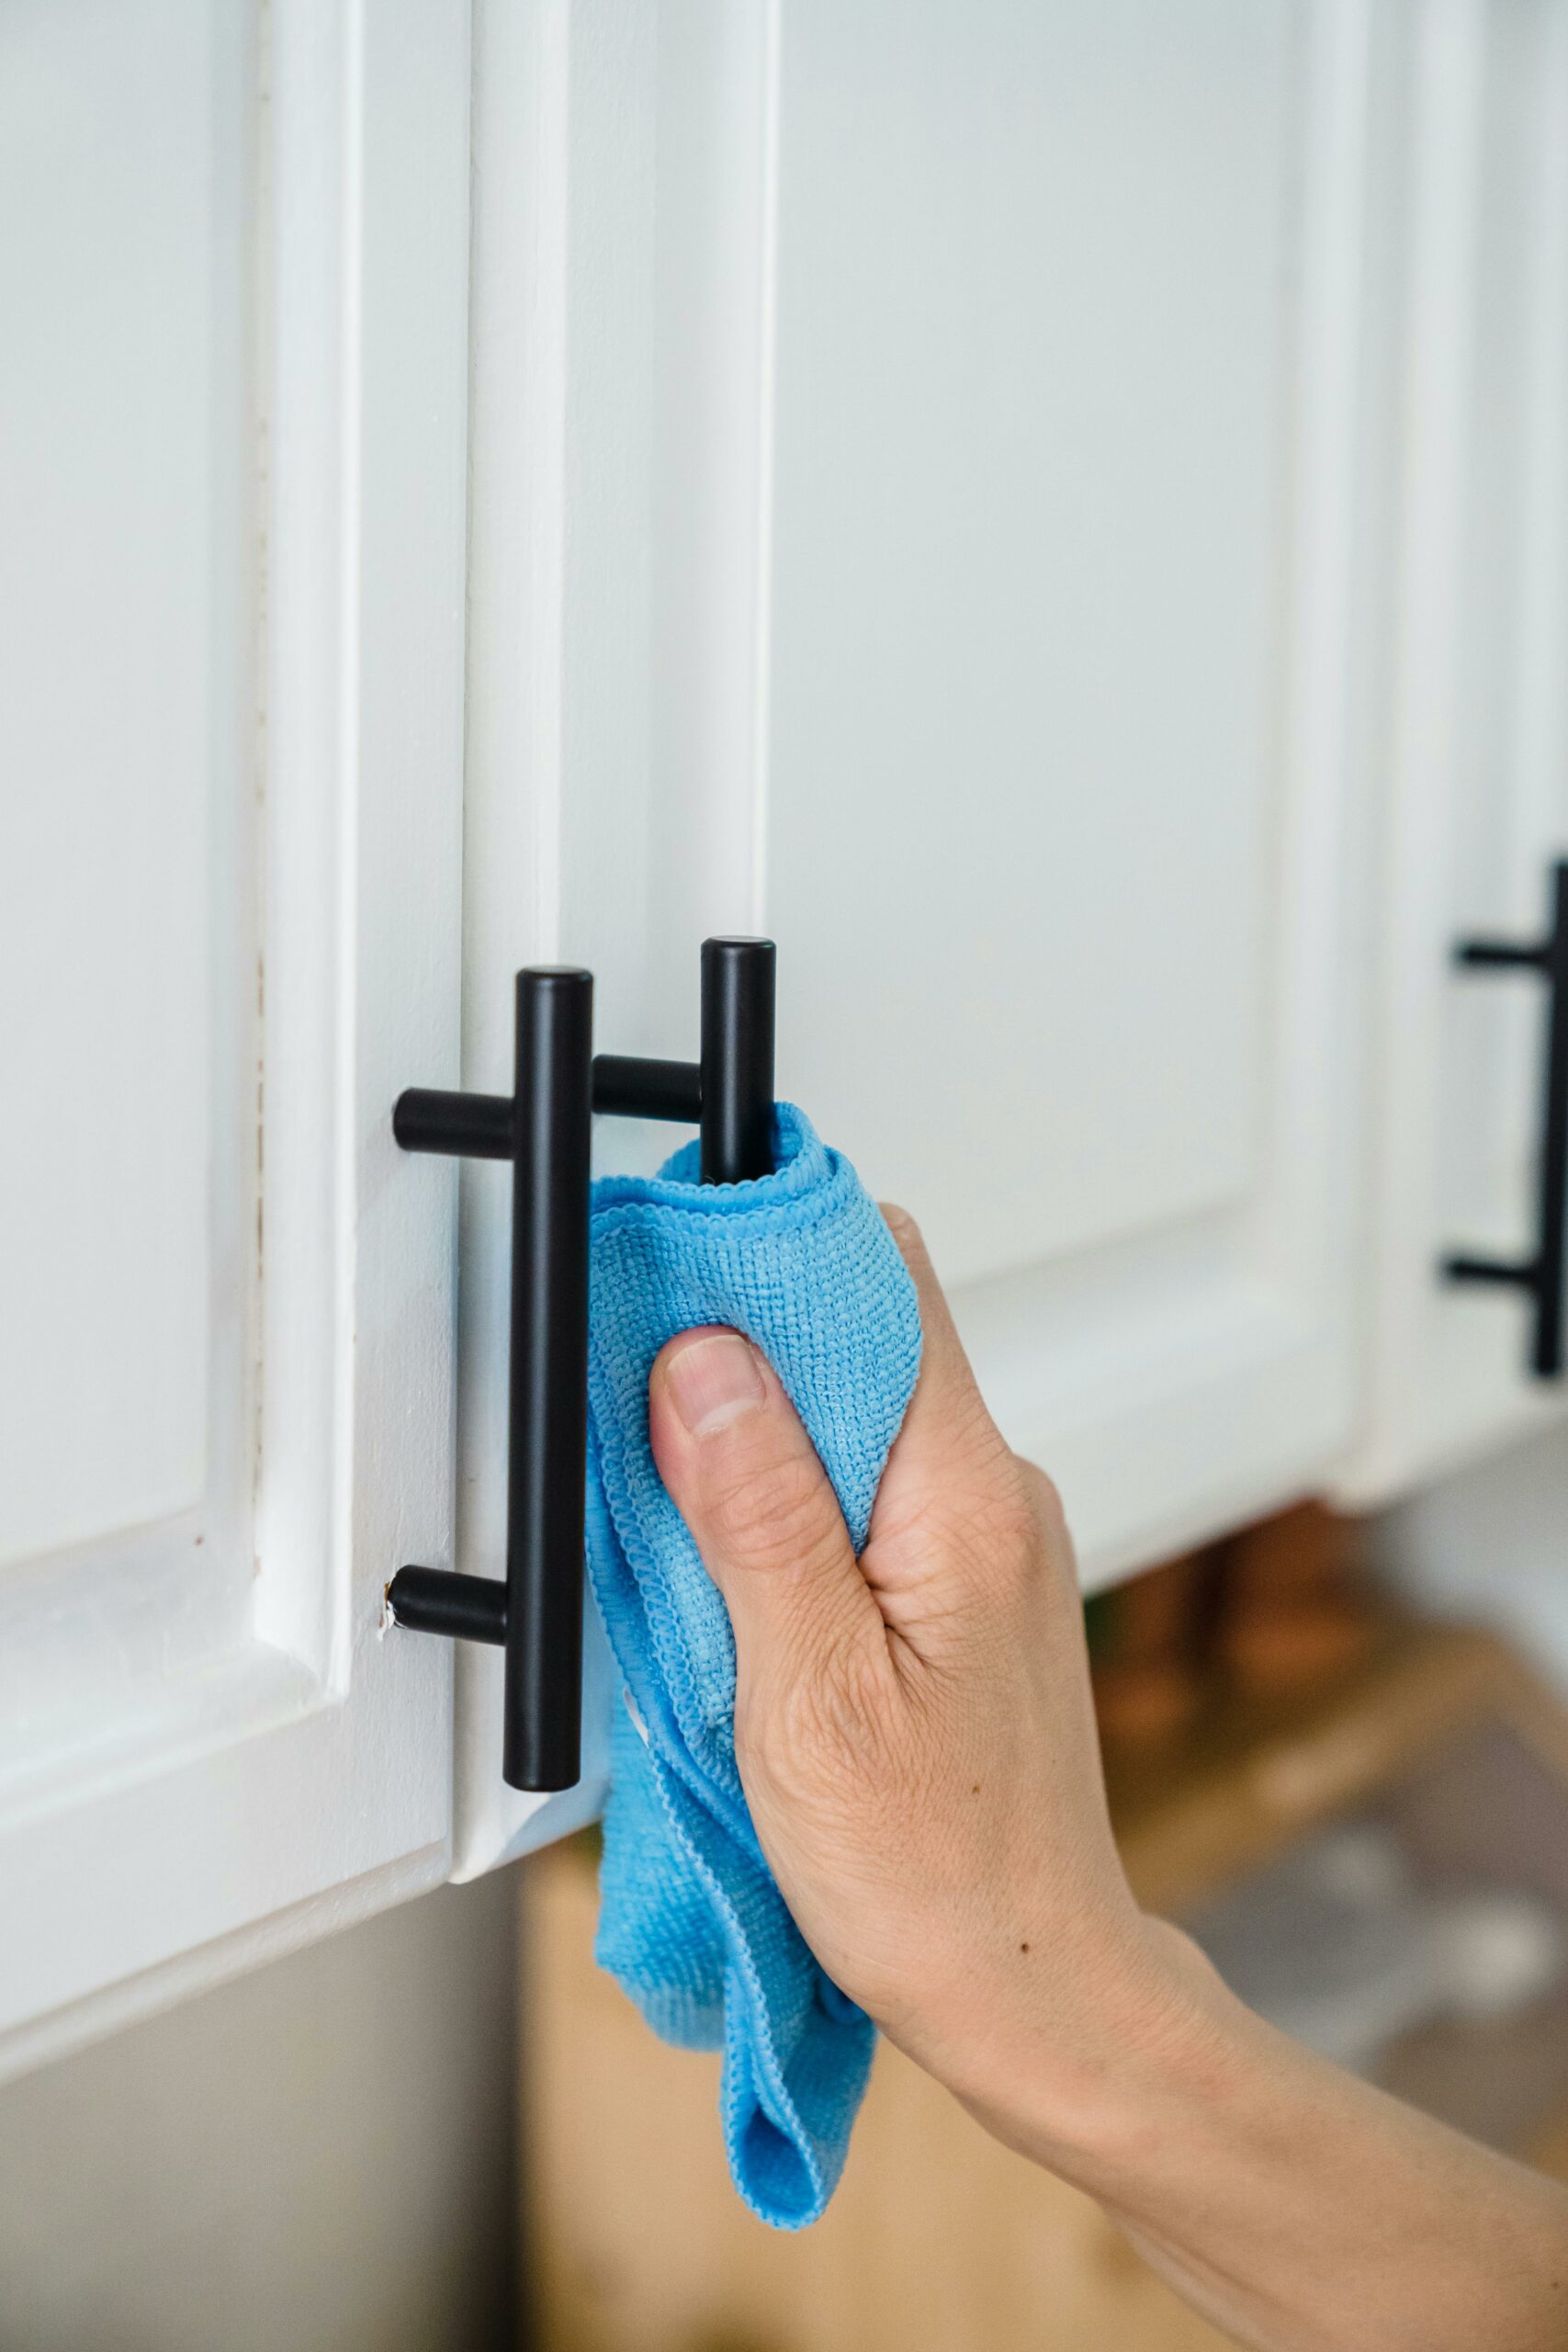
Another simple yet effective preventative measure is regularly wiping down your cabinets with a clean cloth.
By keeping them dry and free from moisture buildup, you can significantly decrease the risk of steam-related issues such as warping or discoloration.
A quick wipe after cooking sessions can go a long way in preserving the integrity of your kitchen cabinets.
Additional Tips and Tricks
Using Hairdryer for Drying:
In case your cabinets do get exposed to excess moisture, consider using a hairdryer on low heat setting to help dry them out faster.
Gently aim the warm air at the affected areas to speed up evaporation without causing any further damage.
This handy trick can be especially useful after cleaning or if you accidentally spill water near your cabinets.
Applying Protective Sealant:
For an extra layer of defense against future steam damage, consider applying a protective sealant over repaired areas on your cabinets.
This sealant acts as a barrier against moisture infiltration, adding durability and longevity to your repairs.
Choose a high-quality sealant that complements the finish of your cabinets for optimal protection.

Conclusion
Regular maintenance is key to safeguarding your kitchen cabinets from steam damage in the long run.
By following simple preventative measures like using vent hoods while cooking and ensuring regular wiping down routines, you can preserve the beauty and functionality of your cabinetry for years to come.
So roll up those sleeves, embrace these repair processes with confidence, and soon enough you’ll be admiring not just fixed cabinets but also newfound DIY prowess!

LOVE it? PIN it for Later!

