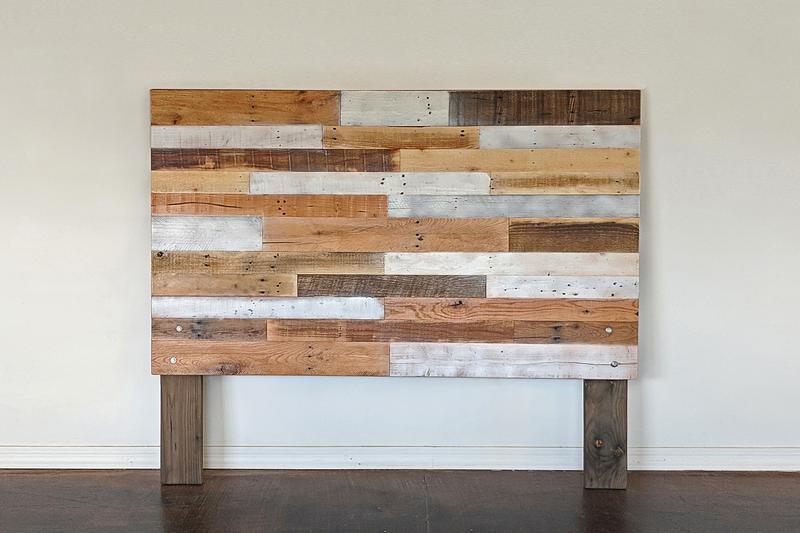
While there are tons of posts on how to make a geometric wood headboard, this one is an exception. This is because I’ll walk you through the steps on how you can make an elegant geometric headboard in just a day. Let’s dive into the nitty-gritty of this post:
1. Materials You Need

Like any other process, assemble all the materials needed to affect the process. These items include safety glasses, plywood, miter saw, brad nailer, protractor, wood glue, pencil, paint, two wood screws, drill, and clamps. Make sure to use each of these materials as per the instructions prompts.
2. Know Your Design
Using a pencil, draw three-triangular designs on the board. Place the plywood on the board and use a miter saw to cut it. The three-triangular sections obtained will help form the headboard design.
3. Lay Out The Sections
On both ends, clamp the boards tightly then start placing the plywood systematically. Using a pencil and a protractor, determine the miter cuts both on the inside and the outside, respectively. Ensure that the plywoods set uniformly.
4. Give It A Good Painting

The different triangular sections should exhibit different colours. As such, you can opt for yellow, blue, purple, or any other colour depending on your preference. Using your preferred colour, paint all the three-triangular sections except the back of the headboard.
5. Assemble And Attach The Frames
Next, insert nails on both sides of the plywood using glue and a brad nail. Start with the most extended section, going through each triangular part without missing out on any area. Use a damp rag to wipe in case things get messy.
6. Hang The Headboard
The final part of making the wood headboard is to hang it. Use 12-french cleats to hang your headboard. The French cleats often secure the headboard firmly. Also, they are portable, so you can quickly move around with it. Fasten the cleats to the plywood 6-inch from the top.