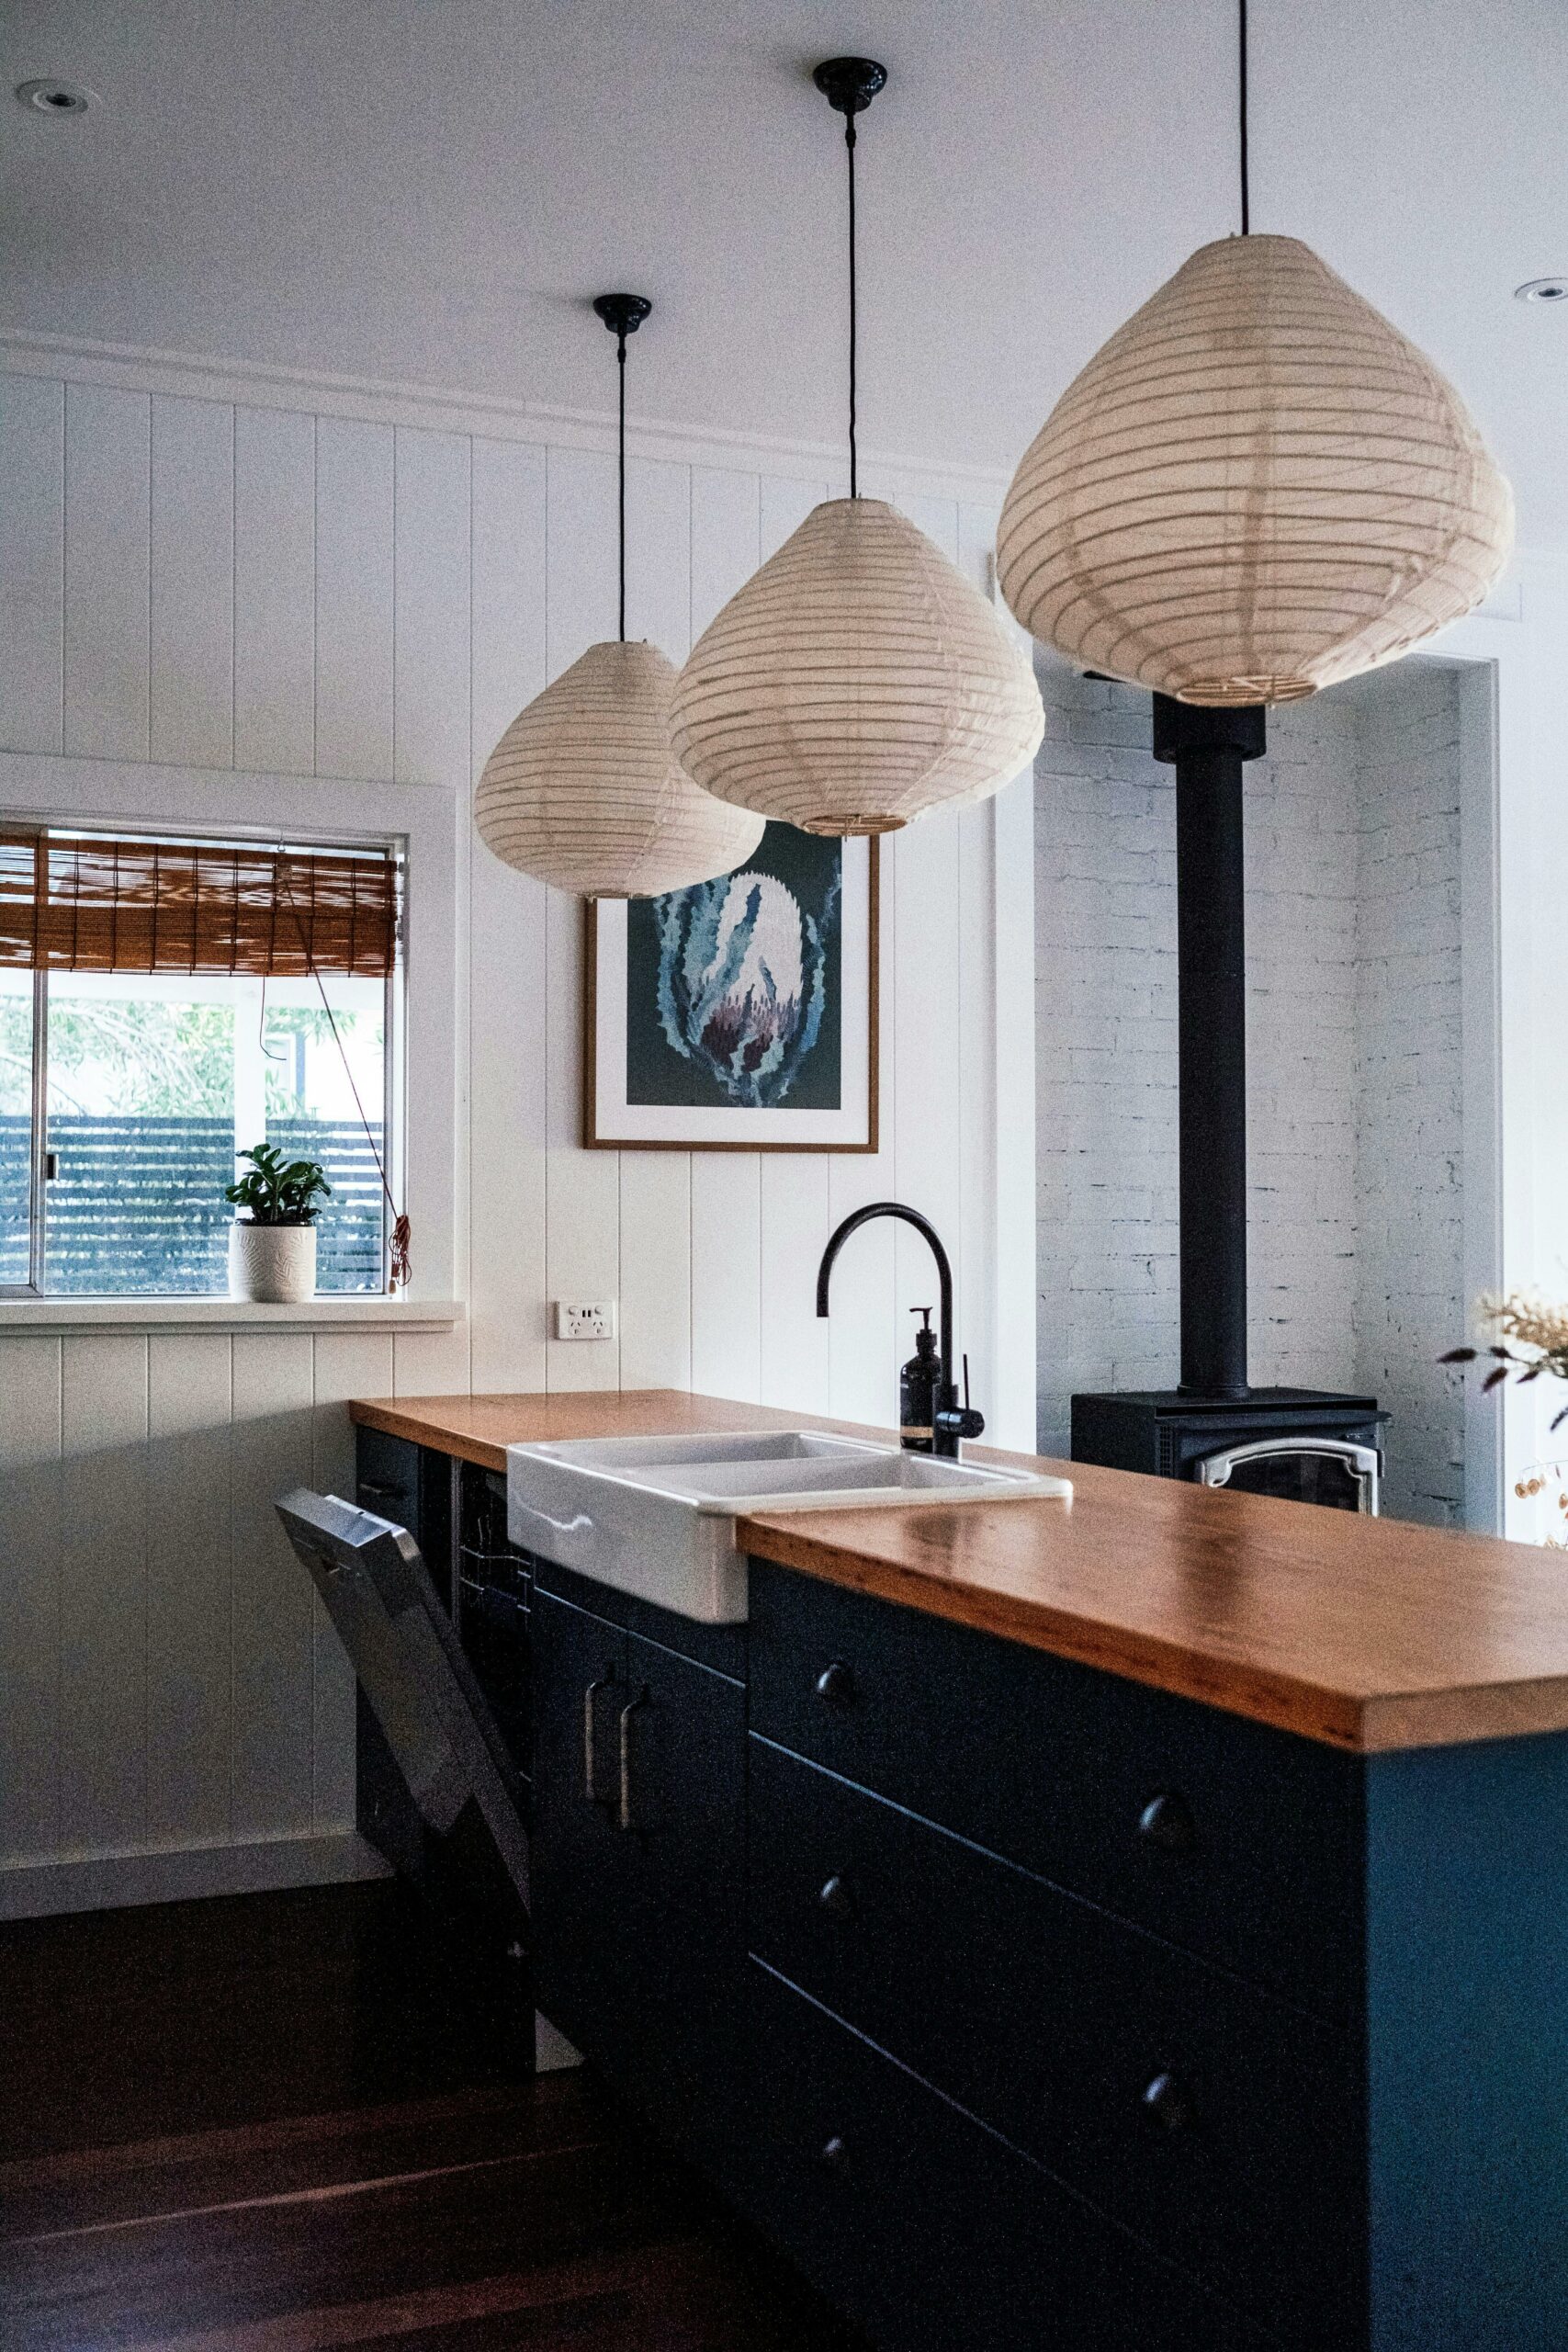
Here is a project that I wanted to realize for my living room for a little while already! In order to be able to explain it as simply as possible, I realized it recently, after digging my head to find a simple and effective solution. You will understand why discovering this DIY project of the lamp hanging frame by frame.
Here we go !
For this DIY project, you need:
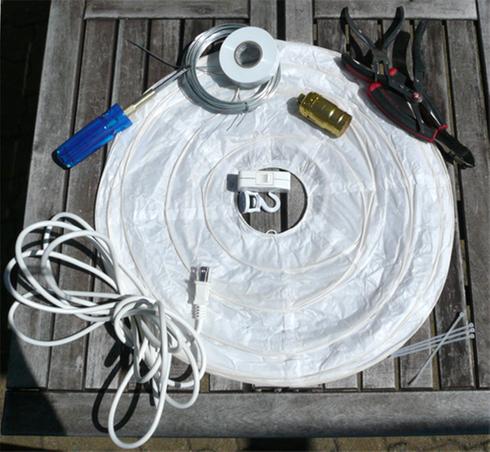
- 4 Chinese paper lanterns
- White electric wire (the length is to be determined according to the height of your ceiling)
- 1 socket
- 1 switch
- 4 sockets
- Wire
- Insulating tape
- Screwdriver
- exacto
- Cutting pliers
- Wire stripping pliers
- Small clamps
- Suspension hooks
- Drill
- Anchors
- 4 energy saving bulbs or LEDs (they are bulbs that do not heat up so as not to burn the paper lanterns).
Diagram: To help you better understand the procedure, here is a small diagram of the lamp.
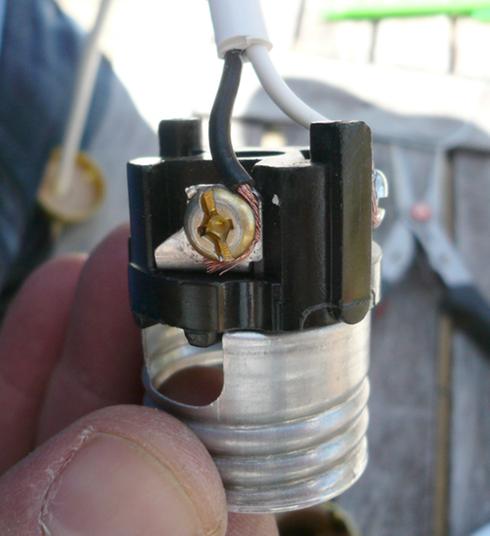
Step 1: Start making the lamp from bottom to top. So we start by mounting the lowest bulb (the one that will be placed closest to the ground), to finish with the highest (the one that will be closest to the ceiling).
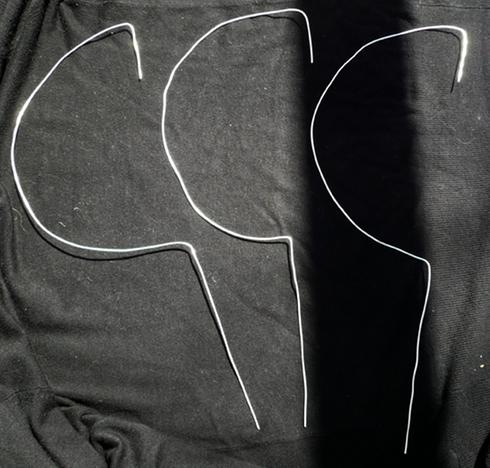
Open the sheath of your electrical wire to pick up the black and white wire inside it. Strip them off so they can wrap the copper filaments around themselves and form a hook with them in order to place them in the socket. Place the socket cover over the electrical conduit. Secure the wires to the socket by gently tightening the screws. Important throughout this DIY: In the socket you will find a white screw and a yellow. Make sure you always put the same color of wire on the same color of the screw. For example, the white wire goes on the silver screw and black wire, on the golden screw.
Step 2: Using the wire, form templates to guide the electrical conduit. Thus, it will not touch the bulb and it will stay upright as much as possible.
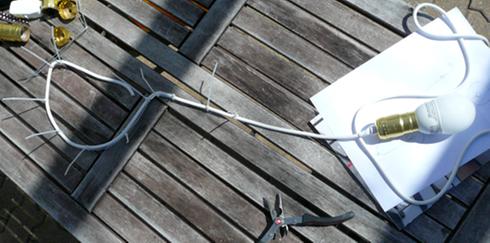
Step 3: Now place the electric sheath (on which you just fix your 1 st bulb) on the wire and attach it with small clamps.
As you can see in the picture, we keep the wire that arrives at the top of the template a little longer, because we will have to open the sheath (to recover the white and black wire). All in order to connect a new bulb and make from 2 e over that will serve our 3 e lamp.
Step 4: Cut with the cutting pliers the pieces that protrude from the clamps.
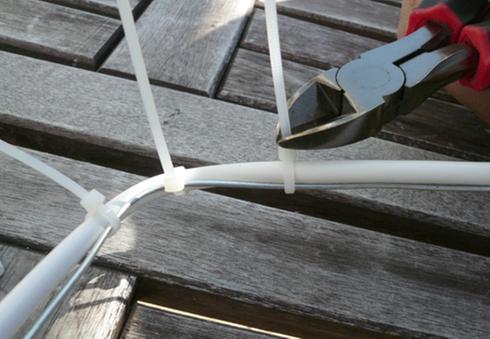
Step 5: You will now be able to position the wire again towards the top and thus towards our 2 e lamp. Insert the cap of the socket on the 2 electric sleeves. Strip the 2 white sleeves to recover the 2 black and 2 white wires.
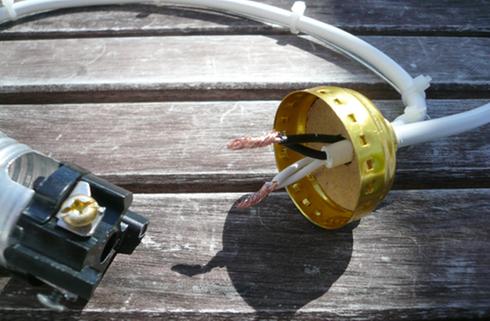
Wrap the filaments of the 2 black threads together and do the same with the 2 white threads. Form hooks with the filaments of the threads and inserts them into the socket. Tighten the screws to secure the wires to the socket.
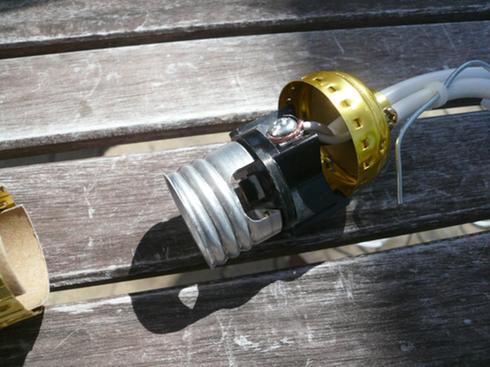
Close your socket. Step 6: In order to have a bulb straight, I added white insulating tape around the 2 white sheaths and my wire. Here are the images you need to obtain after repeating steps 3 to 6 as many times as the number of lanterns desired. For my part, I have 4 ball lamps, so I repeated them 3 times.

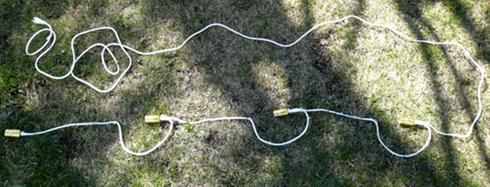
Step 7: Assemble the lamp by screwing your bulbs in and placing your lanterns on the sheath. Install your ceiling hook. Once the hook is placed, hang in your finished lamp to determine the desired length.
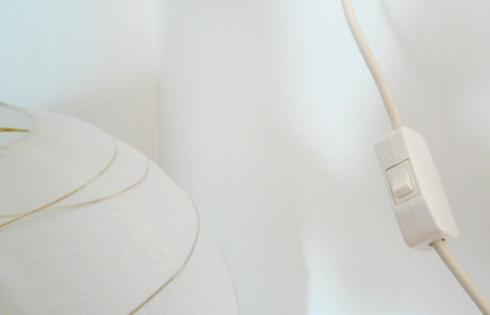
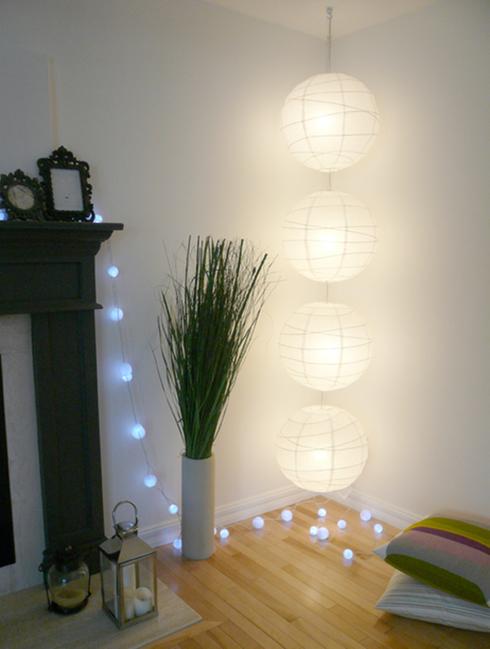
All you have to do is mount your switch at the point you have chosen on your wire and connect everything! Result: And here is a new decorative light as paper! It does not cost much, but its effect will impress more than one!
Tips and tricks:
- You will not be too many for this DIY. A tip: get help.
- Take the measure of your ceiling height and the diameter of your lanterns to see how much you can put on your wire.
- You can space paper lanterns as well as paste them. However, on the practical side, the more glued they are, the more the bulbs will be difficult to change.
- Paper and heat do not mix. To avoid the risk of firing, use energy-saving light bulbs or LED bulbs.
- Also think that you will have several bulbs placed under each other. You will not need to have high power bulbs. Bulbs of 8 W or less will be enough!
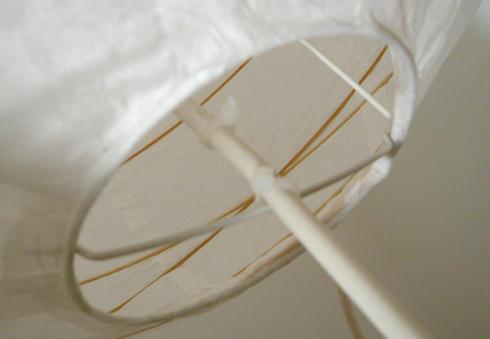
- In order for the wire to come out in the center of each lantern, I guided it with a small clamp.
Good DIY!

