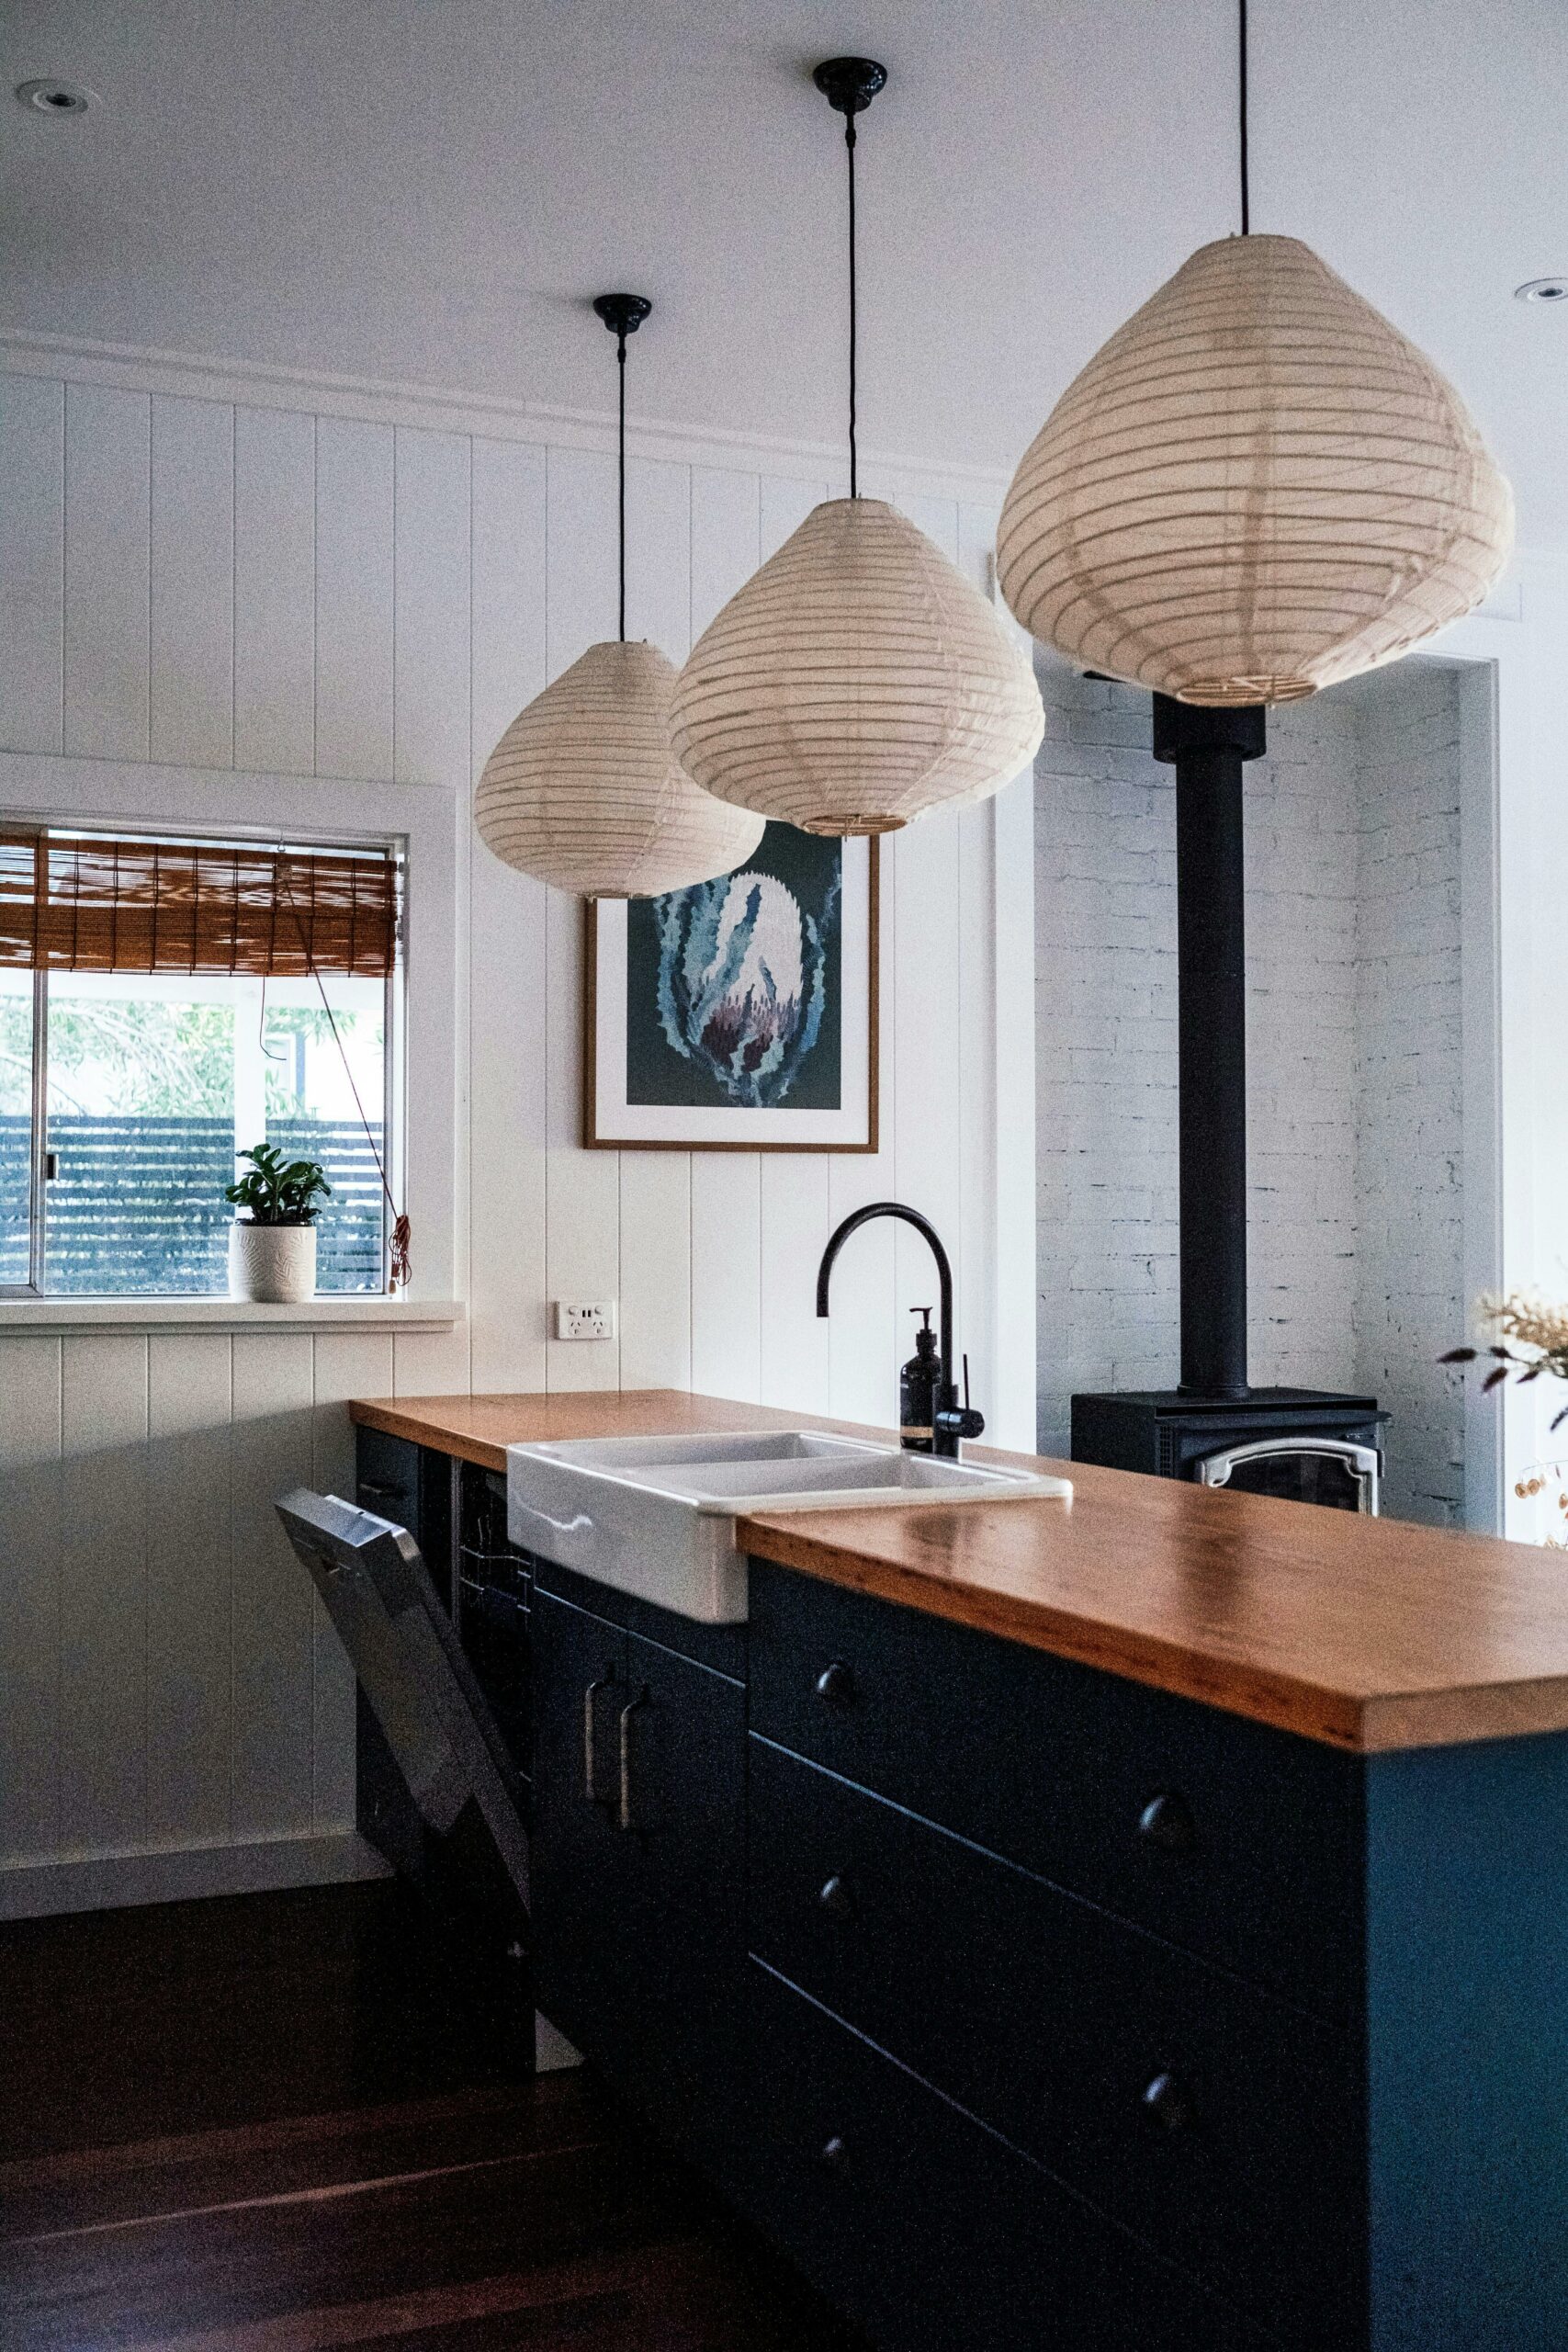
Wondering how to update kitchen cabinets without replacing them? Updating kitchen cabinets can breathe new life into your kitchen space without the hefty price tag of a full replacement.
By giving your cabinets a fresh look, you can completely transform the aesthetic of your kitchen and create a more inviting and stylish environment for cooking, dining, and entertaining.
There are numerous benefits to updating your kitchen cabinets without going through the hassle of a complete replacement.
First and foremost, it can save you a significant amount of money while still achieving a stunning result.
Additionally, updating your cabinets allows you to customize and personalize them to suit your style preferences.
It also gives you the opportunity to refresh the look of your kitchen quickly and with minimal disruption to your daily routine.

Cleaning and Preparing Cabinets
Thoroughly Clean Cabinets with a Gentle Cleaner
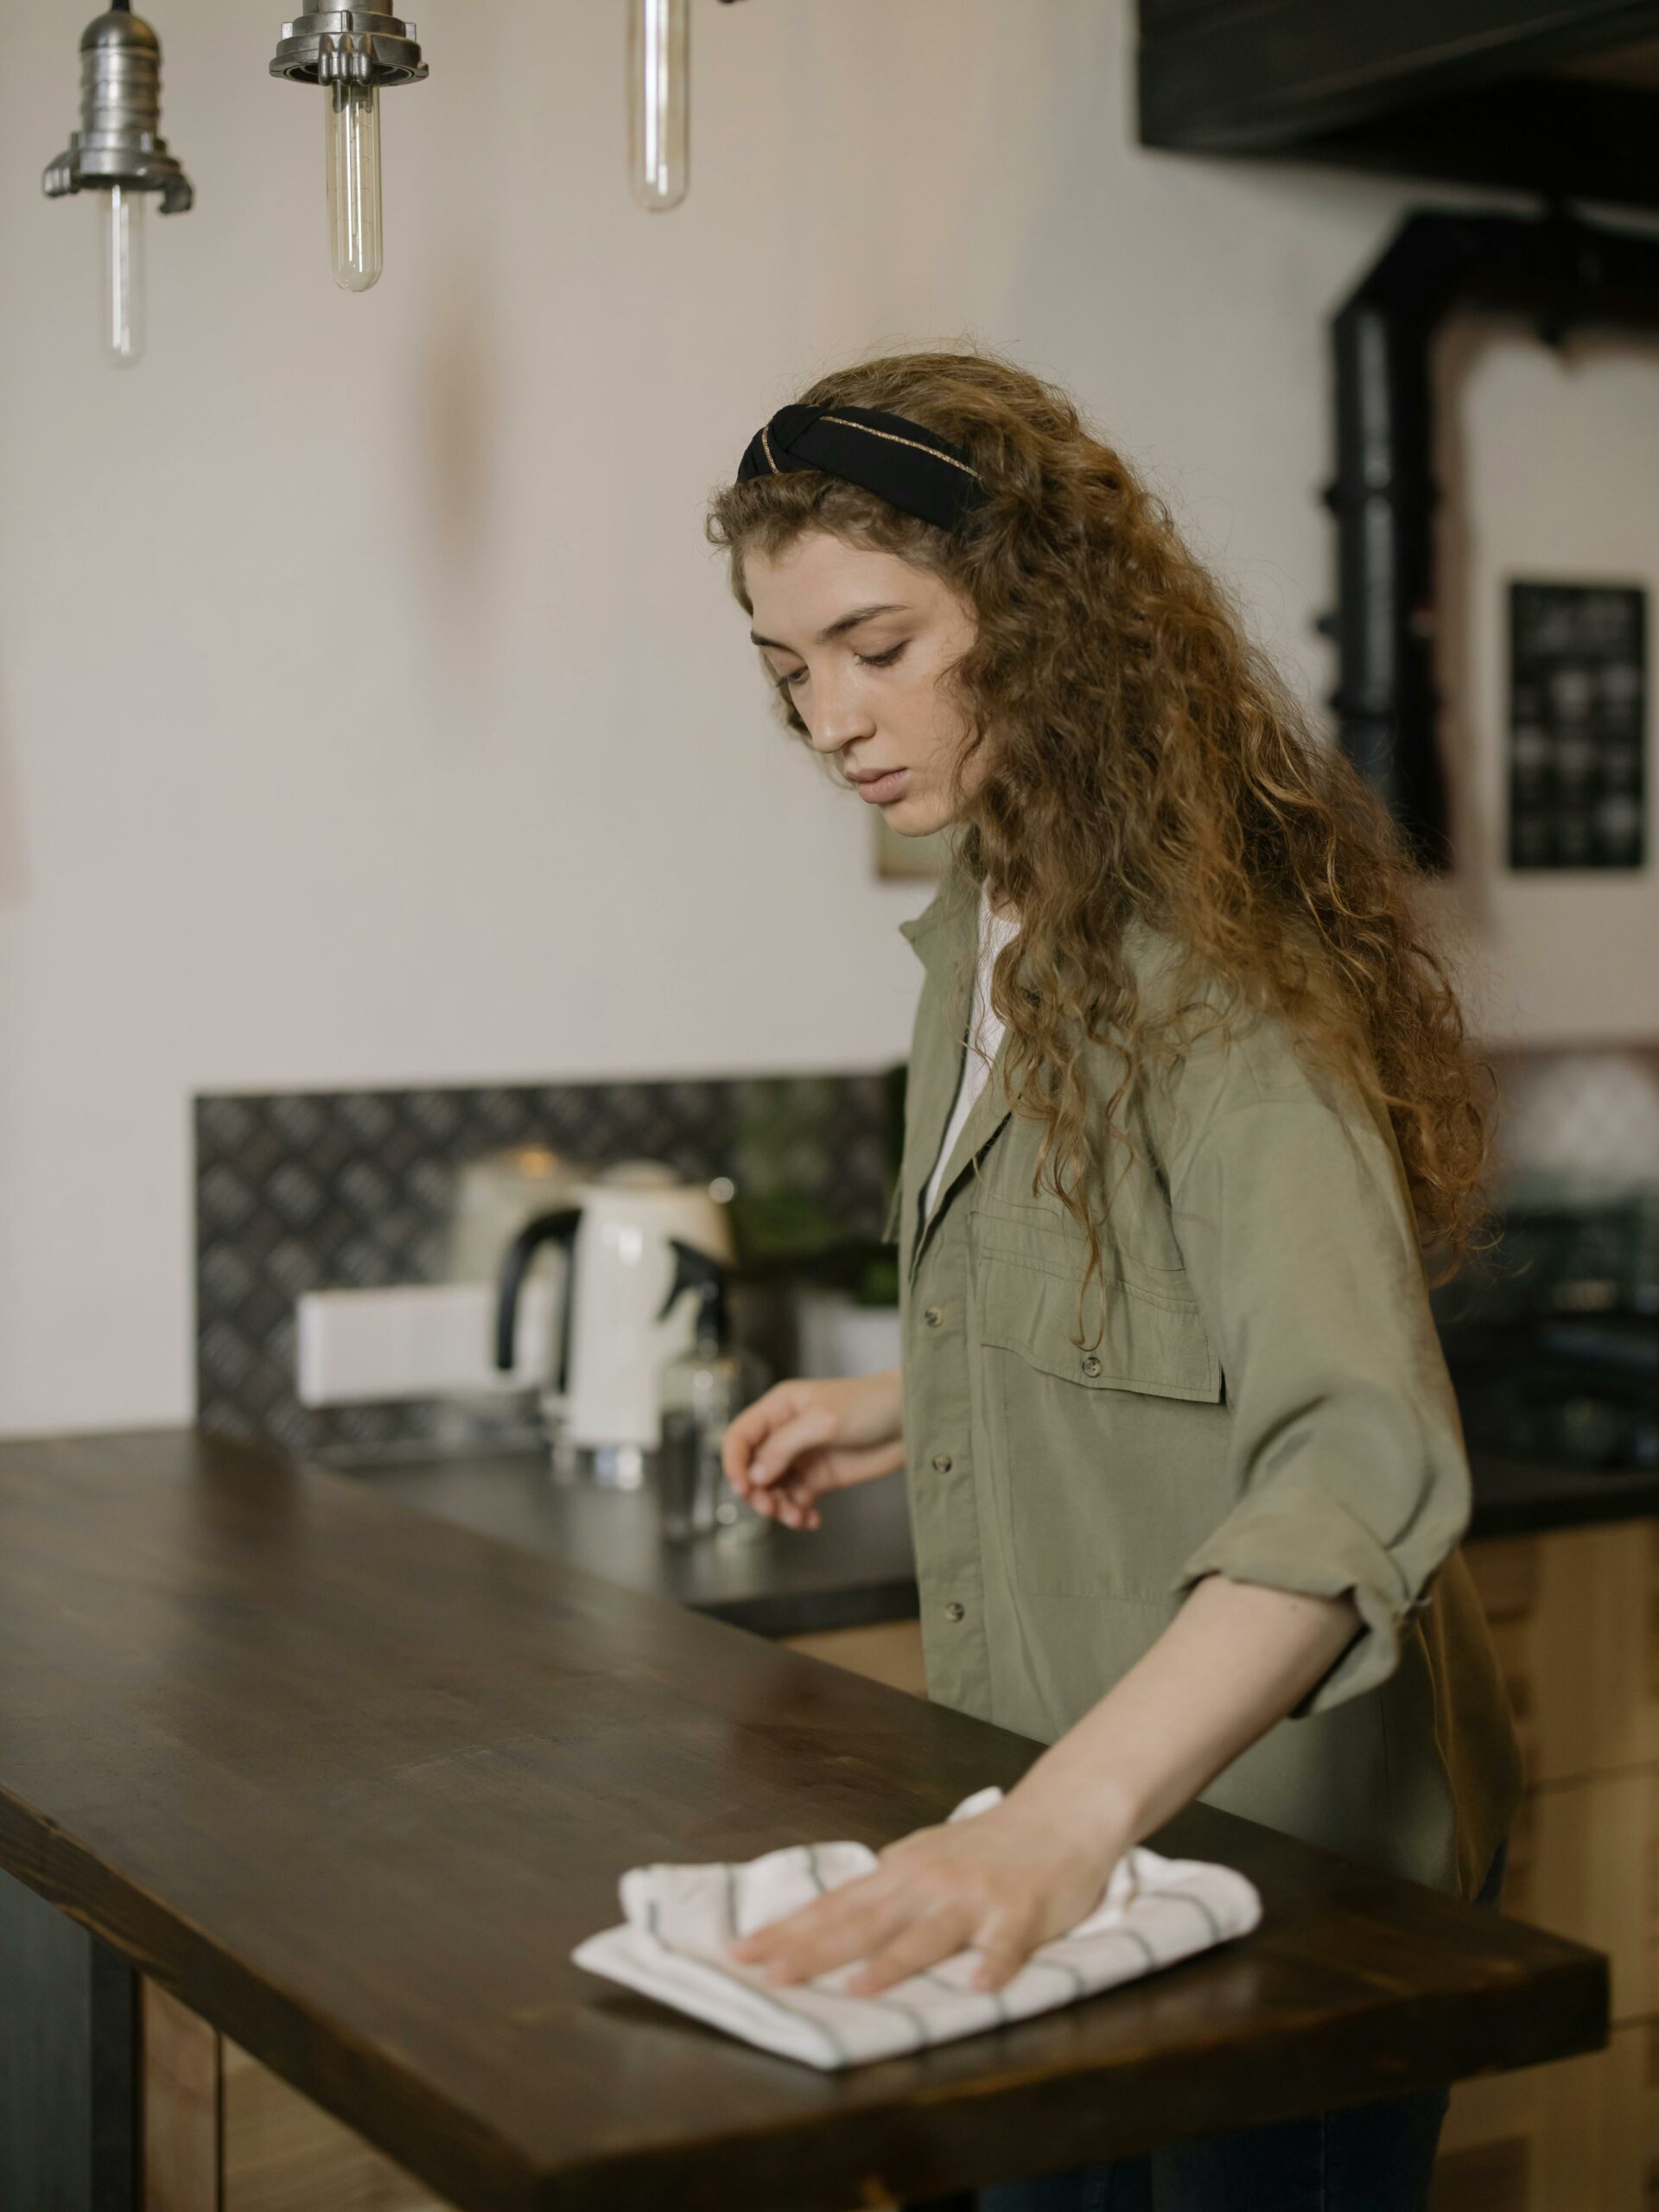
Before diving into any renovation project, it’s crucial to start with a clean canvas.
Your kitchen cabinets have likely accumulated layers of grease, fingerprints, and cooking splatters over time.
Grab a gentle cleaner (avoid harsh chemicals that can damage the wood) and a microfiber cloth.
Gently wipe down all surfaces, paying extra attention to those areas near the stove and sink where grime tends to build up.
Don’t forget the cabinet doors, inside shelves, and even those sneaky corners that often get overlooked.
A good cleaning session will not only make your cabinets look better but also ensure that any subsequent treatments adhere properly.

Lightly Sand Cabinets for a Smooth Surface
After your cabinets are sparkling clean and dry, it’s time to prepare them for their makeover.
Using fine-grit sandpaper (around 120-150 grit), lightly sand the cabinet surfaces in smooth, even strokes.
The goal here isn’t to strip off all the existing finish but rather to create a slightly rough surface for better paint or stain adhesion.
Focus on areas where the finish might be chipped or uneven for a consistent base.
Once you’re done sanding, wipe down the cabinets with a tack cloth or damp rag to remove any dust particles before moving on to the next step in your cabinet update journey.

Painting Cabinets
Choosing the Right Paint
When it comes to updating your kitchen cabinets, choosing the right paint is crucial.
Opt for a high-quality paint specifically designed for kitchen cabinets to ensure durability and longevity.
Look for paints that are labeled as “cabinet and trim” or “enamel” paints, as they are more resistant to moisture, grease, and stains.
Consider the color scheme of your kitchen and choose a paint color that complements the overall aesthetic.
Applying Primer
Before diving into painting your cabinets, it’s essential to apply a primer first.
Primer helps create a smooth surface for the paint to adhere to, improving adhesion and durability in the long run.
Make sure to choose a primer suitable for the type of paint you’ll be using (oil-based or water-based).
Apply the primer evenly with a brush or roller, ensuring complete coverage on all surfaces of the cabinets. Allow the primer to dry completely before moving on to painting.

Using the Right Tools
When it comes to painting cabinets, using the right tools can make all the difference in achieving a professional finish.
For flat surfaces like cabinet doors and drawer fronts, use a high-quality brush or roller for smooth application of paint.
For detailed areas such as grooves or edges, opt for a small brush that allows for precise painting without creating drips or smudges.
Take your time with each coat of paint, allowing ample drying time between coats for optimal results.
Adding New Hardware
Remove old hardware and fill any holes with wood filler.
Before adding new hardware to your kitchen cabinets, it’s essential to remove the old knobs, handles, or pulls.
Use a screwdriver to unscrew and remove the existing hardware carefully.
Once the old hardware is off, inspect the cabinet doors and drawers for any holes left behind.
Fill these holes with wood filler and allow it to dry completely before moving on to the next step.
Choose new knobs, handles, or pulls that complement the updated look of the cabinets.
When selecting new hardware for your cabinets, consider the updated style you want to achieve.
Choose knobs, handles, or pulls that complement the overall aesthetic of your kitchen.
Whether you opt for sleek modern designs, rustic farmhouse styles, or classic traditional hardware, make sure they enhance the look of your updated cabinets.
Once you have chosen the perfect hardware pieces for your cabinets and filled any holes from previous hardware, it’s time to install them.
Use a screwdriver or drill to attach the new knobs, handles, or pulls securely onto your cabinet doors and drawers.
Make sure they are aligned properly and tightened securely so that they function well and add charm to your refreshed kitchen space.

Embrace Creativity with Decorative Techniques
When updating your kitchen cabinets without completely replacing them, consider applying decorative techniques to give them a unique and personalized finish.
One popular option is distressing, which involves deliberately creating a weathered or aged look on the cabinets.
This technique adds character and charm to your kitchen space, making the cabinets stand out in a stylish way.
Add a Touch of Vintage with Antiquing
If you’re aiming for a more vintage or rustic look, antiquing is the way to go.
This technique involves adding layers of paint or glaze to create an aged appearance on the cabinets.
By strategically applying and then lightly removing the paint or glaze in certain areas, you can achieve that coveted antique effect that brings warmth and character to your kitchen.

Elevate Your Cabinets with Glazing
For those looking to add depth and dimension to their cabinets, glazing is an excellent choice.
Glazing involves applying a translucent layer of color over the base coat of paint, creating a subtle sheen and highlighting details in the wood grain.
This technique can transform plain cabinets into elegant focal points in your kitchen, enhancing their beauty and sophistication.
Infuse Personality with Stencils or Decals
To truly make your updated cabinets one-of-a-kind, consider using stencils or decals to add intricate patterns or designs.
Whether you prefer floral motifs, geometric shapes, or whimsical illustrations, stencils and decals offer endless possibilities for customization.
You can mix and match different designs on various cabinet doors to create a cohesive yet eclectic look that reflects your personal style.

Replacing Cabinet Doors (Optional)
Measure Twice, Order Once
Before diving into replacing your cabinet doors, it’s crucial to measure accurately.
Grab that trusty tape measure and jot down the dimensions of each door – height, width, and thickness.
Don’t forget to measure the hinge placement as well. Ordering doors that don’t fit would be a real headache!

Find the Perfect Match
Now comes the fun part – choosing new cabinet doors! Take into account the style and color scheme of your kitchen.
Whether you prefer sleek modern doors or classic shaker-style ones, make sure they harmonize with your existing cabinet frames.
Matching styles will give your kitchen a seamless look that’ll make it feel brand new.

Screw It On!
Once your new doors arrive, it’s time to swap them out. First, remove the old doors by unscrewing them from the hinges.
Then, align the new door with the frame and secure it in place using hinges and screws. Make sure everything is level and properly aligned before tightening those screws.
Voilà! Your kitchen cabinets have a fresh new look with minimal effort!
Final Touches: Putting the Cherry on Top
A. Seal painted cabinets with a clear coat for added protectionOnce you’ve let your freshly painted cabinets dry completely,
it’s time to add an extra layer of defense against kitchen wear and tear.
Apply a clear coat over the paint to protect it from scratches, spills, and general kitchen chaos.
Make sure to follow the manufacturer’s instructions for drying times and application techniques to ensure a smooth and durable finish.
B. Reattach cabinet doors and hardwareWith your cabinets beautifully painted and protected, it’s time to put everything back together.
Reattach the cabinet doors using their hinges, making sure they align properly and swing smoothly.
Next, install your carefully chosen new hardware – knobs, handles, or pulls – to give your cabinets that final touch of style.
Tighten everything up snugly so your hard work stays in place.
C. Step back and admire your refreshed kitchen cabinets! Now comes the most satisfying part – taking a step back and soaking in the transformation you’ve accomplished!
Marvel at how your once tired and outdated cabinets now gleam with new life and personality.
Enjoy the sense of accomplishment that comes with rejuvenating a significant part of your home without breaking the bank.

Conclusion
Updating kitchen cabinets without replacing them can truly breathe new life into your space while saving you time and money.
By following these steps – cleaning, painting, adding new hardware, applying decorative techniques if desired, sealing for protection, reattaching doors and hardware – you’ve not only refreshed your kitchen but also showcased your creativity and DIY skills.
Embrace the renewed ambiance of your kitchen as a reflection of both practicality and artistry working hand in hand towards creating a space that brings joy every day.

LOVE it? PIN it for Later!